Night Photography Guide
As a Night Photography Guide, it puts you into a whole new world full of creative possibilities. From the mesmerizing trails of stars to the vibrant lights of the city, the night offers unique photographic opportunities. Read more below on how to do so.

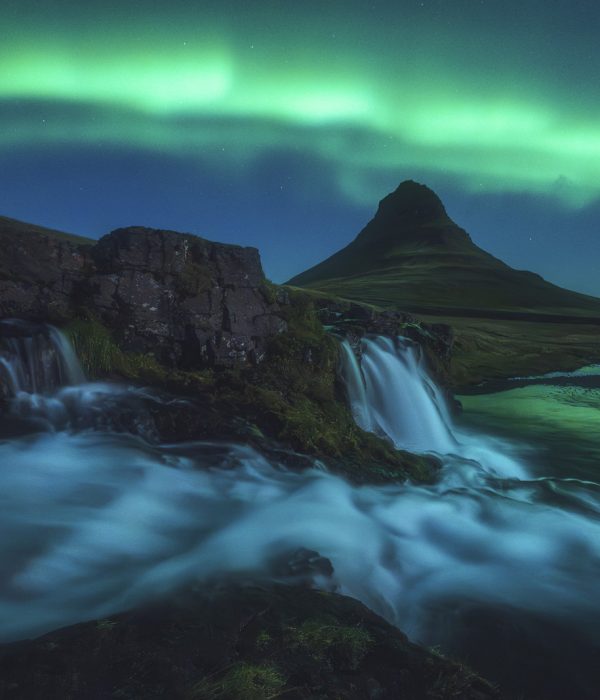
Beginners Guide To Milky Way Photography
Getting out the door, the first thing you should check is your gear. Before heading out into the field, be sure to check What to Bring on one of our popular photo tours. A sturdy tripod, a camera with good low-light performance, and fast lenses are essential for night photography.
Essential Techniques
- Use a Tripod: A tripod is non-negotiable for night photography. It stops your camera shaking through long exposures.
- Manual Mode: Use manual mode and take control.
- Long Exposure: It’s pretty neat and clean to play around with ever-longer exposure times, with the light to be drawn in on the sensor. It would be perfect for capturing star trails and light painting.
- ISO Settings: Try to keep the ISO setting as low as you can to minimize the noise, but do not hesitate to raise it when necessary.
- Aperture Settings: Set a wide aperture (small f-number) in order to let more light hit the sensor. If you need detailed tips on this, visit Adobe’s Tips for Night Photography.

Composition Tips
Composition in the night is very difficult for photography due to a lack of light. Following are a few tips that will help you to compose your shots effectively:
- Look for Light Sources: Use natural light coming from street lamps or moonlight to shed light on your scene. Be sure that the area in front is not dark, which makes it more depth in the picture.
- Include Foreground Interest: Adding elements in the foreground can provide depth to your images.
- Experiment with Perspectives: There is no hard and fast rule; play with angles and perspectives. Learn more about composing great shots in our post on Landscape photography.
Learn more about composing great shots in our post on Landscape photography.

Post-Processing Your Night Photos
Yes, night photography should always involve post-processing. You can enhance your images in software like Adobe Lightroom or Photoshop. Write us to reserve an online, one-to-one classroom with any of our photographer guides.

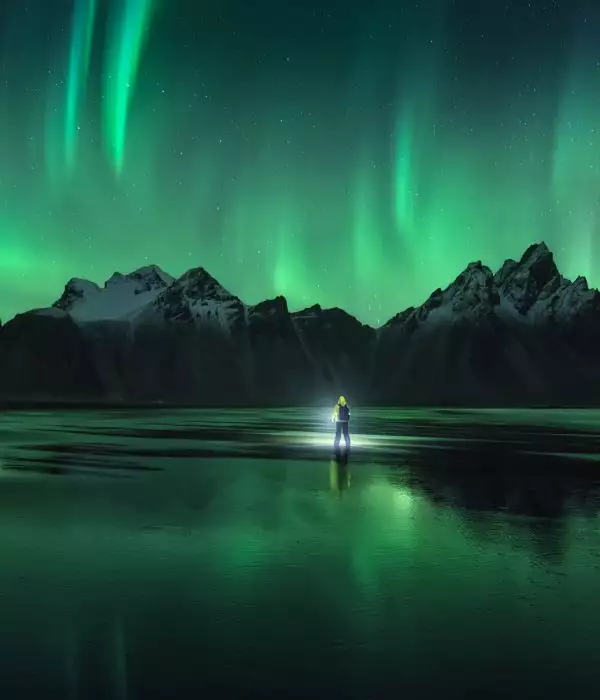
Safety Tips
When night photography is a natural side effect of photographing in the mountains, it is all too easy to end up being outside late at night, in the dark. Keep these safety tips in mind:
- Be Aware of Your Surroundings: Know where you are and who is around you.
- Bring a Friend: Bring a friend with you for company and to stay safe.
- Carry a Flashlight: Very important for being able to see in the dark.
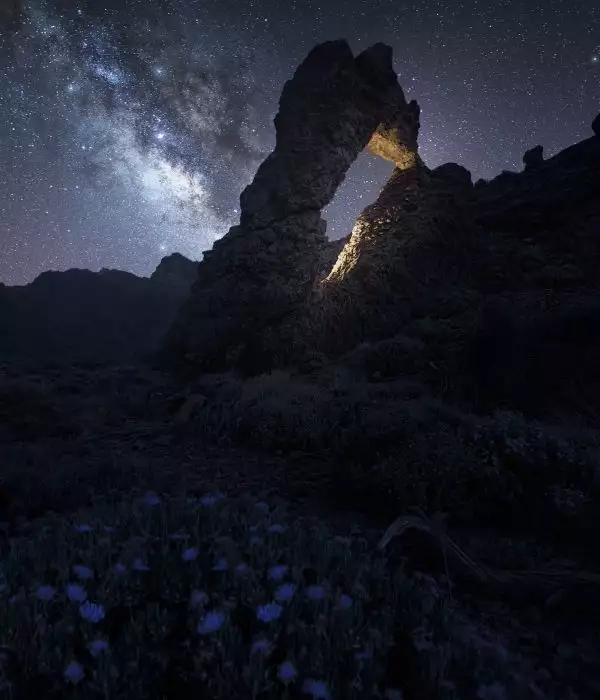
What do I need for night photography?

To take photos of stars, you need a camera that allows you to set the aperture, shutter speed, To take photos of stars, you need a camera that allows you to set the aperture, shutter speed, ISO, and manual focus. For example, a reflex camera or a mirrorless. For information on cameras and lenses, please read our post about it.
-
Use an open aperture
Use an open aperture (the smallest possible aperture number). A lot of light should come in.
-
Exposure time for the starry sky
2 to 25 seconds. Of course, if there is no other light source nearby, as long as possible is good. Caution: With an exposure that’s too long, you will get stripes appearing, because it will record the wandering of the stars. The bigger the focal length, the shorter the exposure time. With an 18 mm focal length, 20-25 seconds are taken, with 200 mm only about 2 seconds are possible. It’s clear that a tripod is necessary for this. Please remember to switch off the stabilizer on the lens, otherwise your image will “wobble”!
-
Set ISO high
Of course, this is up to you to estimate the ISO from which your images become too noisy. My Nikon D750 is really well-behaved on noise (low), but I’d still rather expose longer than put the ISO up too high. Typically, I won’t go above 1600 ISO.
-
Set autofocus to OFF
On a DSLR, you do this on the lens and on a system camera it’s generally part of the camera menu (with good lenses also directly on the lens) then focus to infinity; i.e., on what the 8 lyings down.
An important tip: The infinite focus decreases a bit at the stop, so the image becomes a bit blurred again. The really infinite point is a bit before the stop and varies from lens to lens. I can see it blur on my first photos from Lapland when I was not familiar with the tip. You can turn the focus to perfect infinity when at night by auto-focusing something very far away or, for example, the moon, and keeping the mark on which your lens is positioned in memory. On my Tamron lens, I calibrate it to the stop by 2 mm.
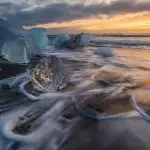
Conclusion
Night photography is an outstanding but demanding genre. If you are well prepared and properly equipped, then you can get some fantastic photos that reveal the many sides of the night. If you would like some additional inspiration, go to our Photography Tours.
For additional expert advice, refer to the Digital Photography School’s Night Photography Guide and National Geographic’s Guide to Night Photography.