What Does Facebook Do to Your Photos?
Facebook is one of the most popular tools to share your photos with friends & family. For a regular user is easy to do, as they don’t differentiate the quality from their computer to Facebook. But photographers found that their images are heavily compressed after upload.
If you are a photographer, Facebook is a window to the world that can make grow up your business like no one else. There you will share your jobs, so you must keep the maximum quality of your images.
As a place where your business will place a product, you need to know how to get perfect quality. Creating an amazing album or gallery is the reason why you are there. All pixels of your photos must look good on every screen: phone, computer, or tablet.
This guide will give you the best tips for uploading images to Facebook and keep as much quality as possible. From optimum sizes and file types to pro-tips to avoid blurry pictures on Facebook. So when you come back from your next photo tour, you will know how to manage to show your photos with the best quality.
Join our next Japan Photo Tour
Why are my Facebook photos so low quality?
To improve the user experience and a fast webpage loading time (or App), Facebook compresses all images you upload. It’s an automatic process, so your images is always affected by compression.
The resolution that Facebook supports are either 720px, 960px, or 2048px on their longest edge. So, if you upload any other dimension, it automatically reduced. This result inevitably in poor images.
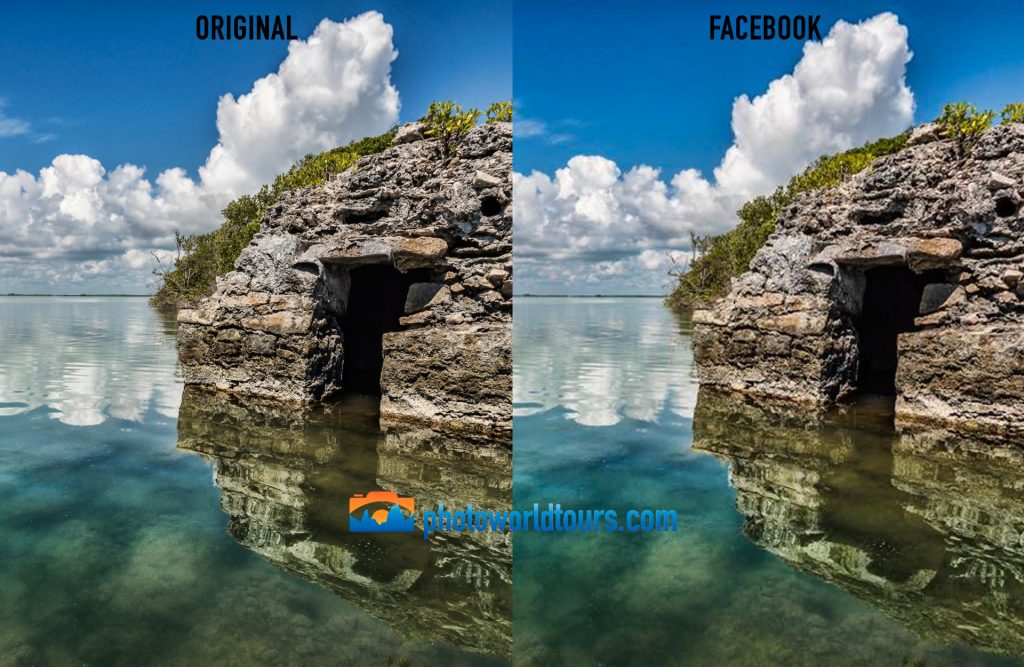
By reducing the dimensions of your photo decreases its sharpness, especially if it is a big resize. Remember to use low ISO in your photos, to keep good quality.
How do I upload a photo to Facebook without losing quality?
Reducing Compression in JPEG Files
Since Facebook will always compress your images, we need to try to reduce the effect on our images. With these tricks, we will reduce the amount of compression that Facebook will apply.
First point to take attention, is the dimensions of your image. We need to upload our photos at exactly 2048px on its longest edge. Facebook not will change the dimensions of your image, so we will reduce the impact of the compression applied to the photo.
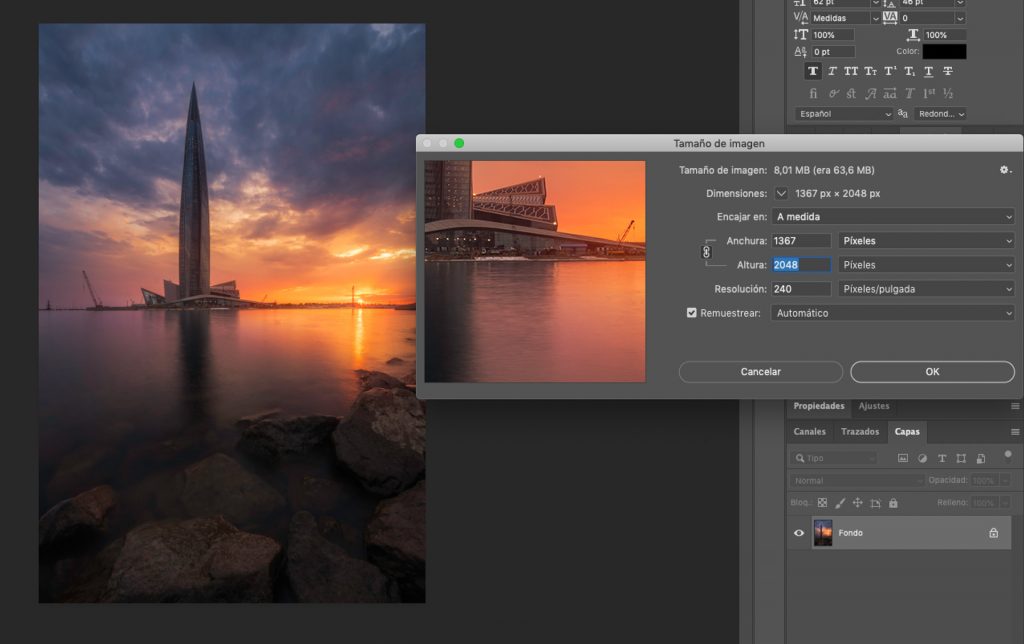
If you don’t like to upload a large file, you must upload the photo with 960px at the longest edge. As you can see, we need to choose the dimensions that Facebook admit.
After resize the image, you need to check if is sharpened enough. Zoom your image to 100% size in your editing software to review your photography. If during the process you see it became soft, give it more sharpen.
Save for web at Adobe Photoshop
Now, from Adobe Photoshop’s “Save for Web”. Ensure that the image is selected to compress to a JPEG file at 70% quality, and choose sRGB color profile.
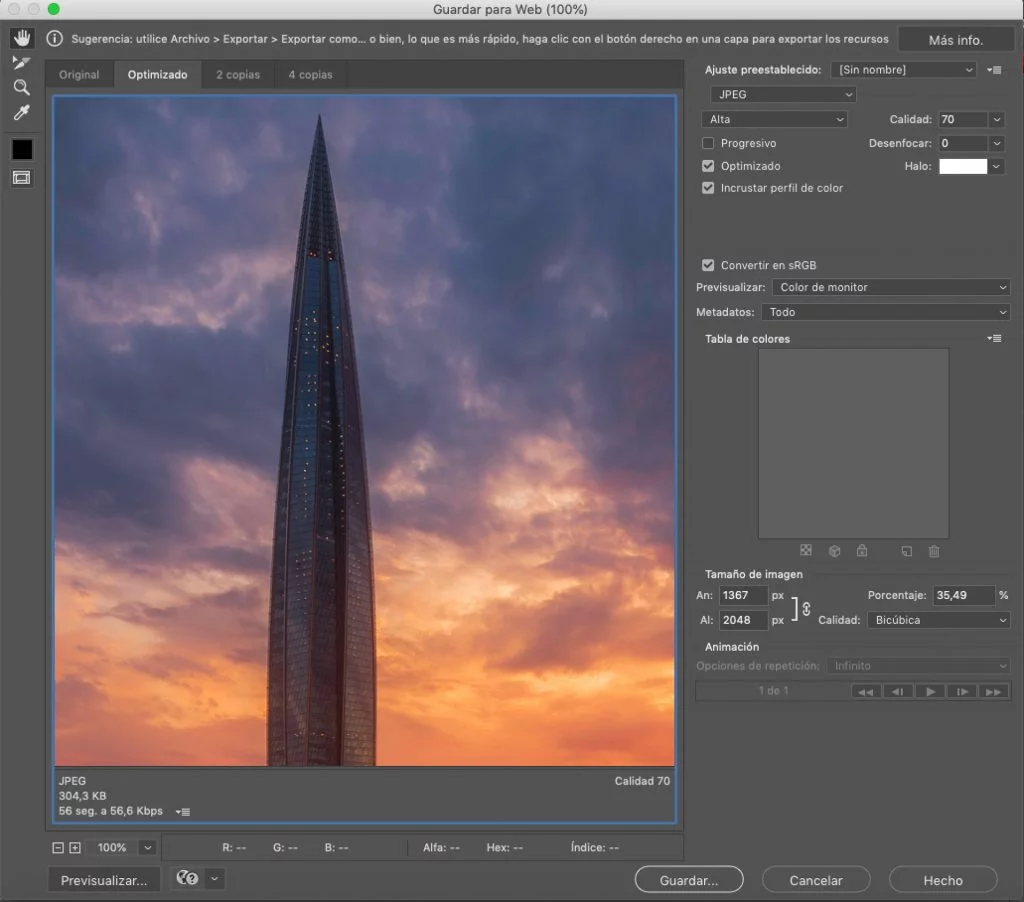
The trick here is to compress your image to less than 99KB before clicking the button to save. If you don’t edit photos in Photoshop, you can use a free image compressor like Image Optimizer. It also will help you with Facebook and other platforms.
Other editor software includes similar options. For example, GIMP has a specific plugin to save for the web. The process in GIMP is similar to Photoshop.
Join our next Iceland Photo Tour
Is PNG or JPEG better for Facebook?
The Benefits of Using PNG Files
Most of Facebook users don’t know this, but you can upload a PNG file. The best of PNG is that you can use any size you wish. You will get a similar effect, but don’t forget to convert it to sRGB as well.
You can do this in the same way, using the “Save for Web” option. In this case, select PNG-24 from the drop-down list. You also can use other editing software to export as PNG.
As another example, from Lightroom, use the export options to select PNG. Select 16 bits and remember to dimension your longest size to 2048px.
Most photographers tested this option and it gives even better results than JPEG. It’s a good way to upload photos to Facebook at the best quality possible.
It’s Never Going to Be Perfect
Remember that your viewers not will see your original photo. So they can’t to compare, and also they will understand the poor quality of Facebook.
Only you can compare both versions. And don’t expect to get the same quality on Facebook than from your original file.
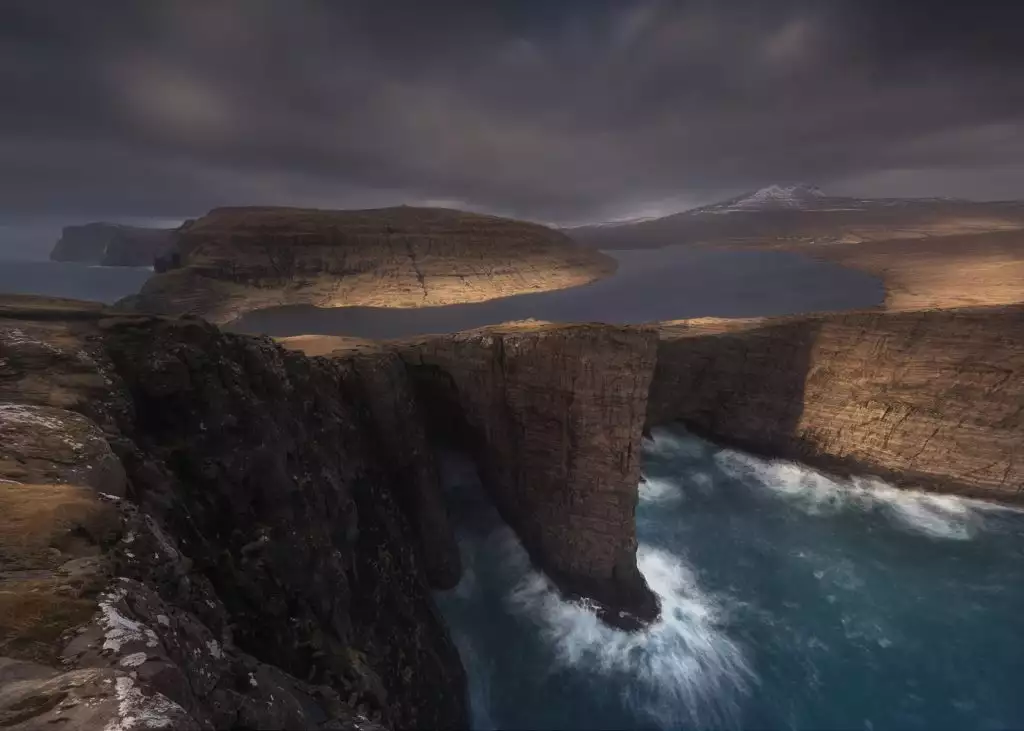
Lake Sorvagsvatn during a moody day. Join our next Faroe Islands Photo Tour
People have a tolerance for the fact that they see it on Facebook. Some people like to upload his high resolution to their own websites or pages like 500px. But if you prefer to keep high files for other purposes (as stock), you only will share a low resolution of your images.
Other point to realize at this point. The most of your viewers, will use the app in their mobiles or tablet. It means, it would never see the perfect version of your photos.
Summary
With these simple steps, your photos not will look terribly compressed on Facebook never more. Follow the steps above and improve the quality the next time you share a photo.
How do you fix a blurry picture on Facebook 2020?
Here is a summary of our 3 quick and easy steps:
- Resize the longest edge of your image to 2048px.
- Use “Save for Web” function, and select 70% JPEG quality.
- Choose Convert to sRGB color profile.
Or, try using PNG files, as mentioned above!
EXTRA TIP: If you upload an album, make sure you tick “high quality” if the option is given.





Buenisima web. Gracias, Un saludo