15 easy tricks toedit photos in Photoshop
Edit photos in Photoshop
In this post, I am going to give you a series of easy tricks to edit photos in Photoshop. With these tips, you are going to edit your photos in a fast and super easy way.
First of all, I would also like to let you know that retouching a lot, does not mean making it better. Good editing of a photo in Photoshop is something that should not be noticed. With this program, you will get many more options than if you want to edit a photo on the iPhone for example.
With these tools, you will be able to make quick retouching, and that will give your photos a greater impact. These tricks will allow you to make simple but effective edits for most cases.
This is not a professional retouching guide, as we should focus on one type of photography first. These easy tricks are steps that every professional carries out in their editing process. So try to master them before going through more complicated edits.
Before we begin, I would also like to remind you that you can achieve the same result in other ways. Photoshop is a very complete program, so I will try to teach you the fastest and easiest process in each case.
How to Touch up a Photo in Photoshop
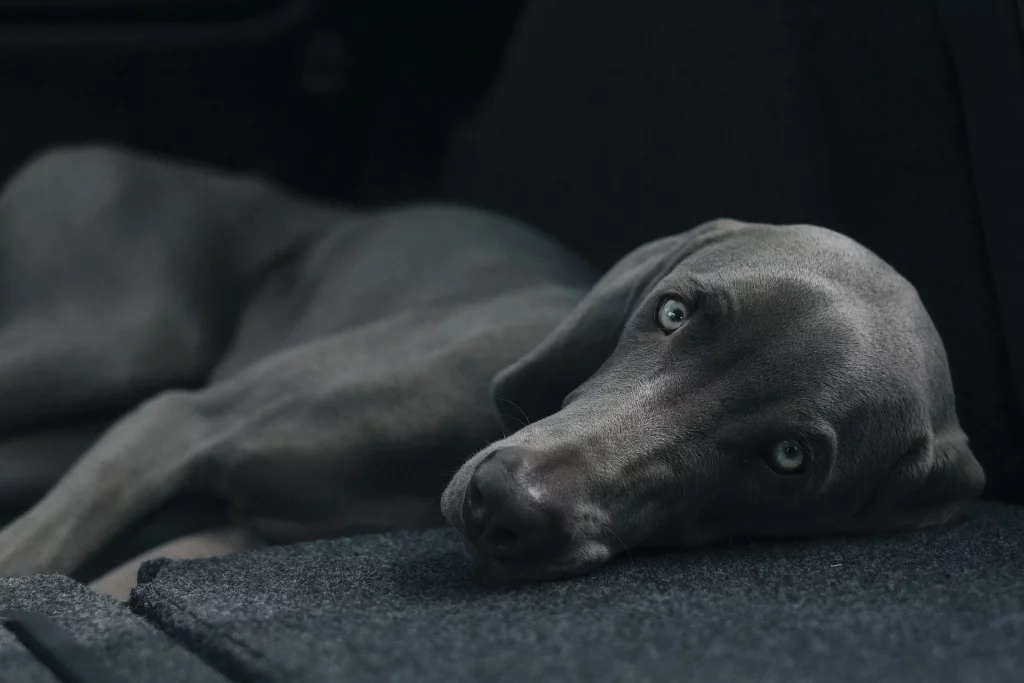
Adjust Temperature and Light
It is the first thing you should do in your photos. If you are a photographer and you manage hundreds of photos, for me it is best to edit photos in Lightroom in these first steps. The level of organization and basic editing for me is ideal.
But if you only edit photos once in a while, you can jump this step. Photoshop comes with Camera Raw, which can make the same things about the edition. In fact, I know many photographers who skip the Lightroom step and organize photos in Bridge for example.
I recommend you control these basic options and that you apply the necessary adjustments to each photograph. It does not have much mystery, duplicate the layer to keep the original and hit Filter-Camera Raw.
But if you only edit photos once in a while, you can jump this step. Photoshop comes with Camera Raw, which can make the same things about the edition. In fact, I know many photographers who skip the Lightroom step and organize photos in Bridge for example.
I recommend you control these basic options and that you apply the necessary adjustments to each photograph. It does not have much mystery; duplicate the layer to keep the original and hit Filter-Camera Raw.
A new panel will open with the same options as in Lightroom. We are going to see only the basic options, but from here you can modify infinite details of your photographs.
In the basic panel, you will be able to modify even more options. But for a basic edition, it will be enough to know what the following options are for:
- Temperature: We modify the color temperature of our photo. To the right we will “heat” the photo, to the left we will “cool” it.
- Hue: We optimize the color temperature to avoid green or magenta shades.
- Exposition: We will give more or less light.
- Contrast: Add or remove contrast to our photos.
- Highlights: Reduce or raise the high beams.
- Shadows: Adjust the shadows.
- Whites: Adjust the medium highlights of the photo.
- Blacks: Reduce or Raise the blackest points in the photo.
You see, it is very simple. For clarification, Highlights and Blacks modify the values more to the extreme of the lights. While Shadows and Whites modify the intermediate values. With Exposition, we control the general light of the photo.
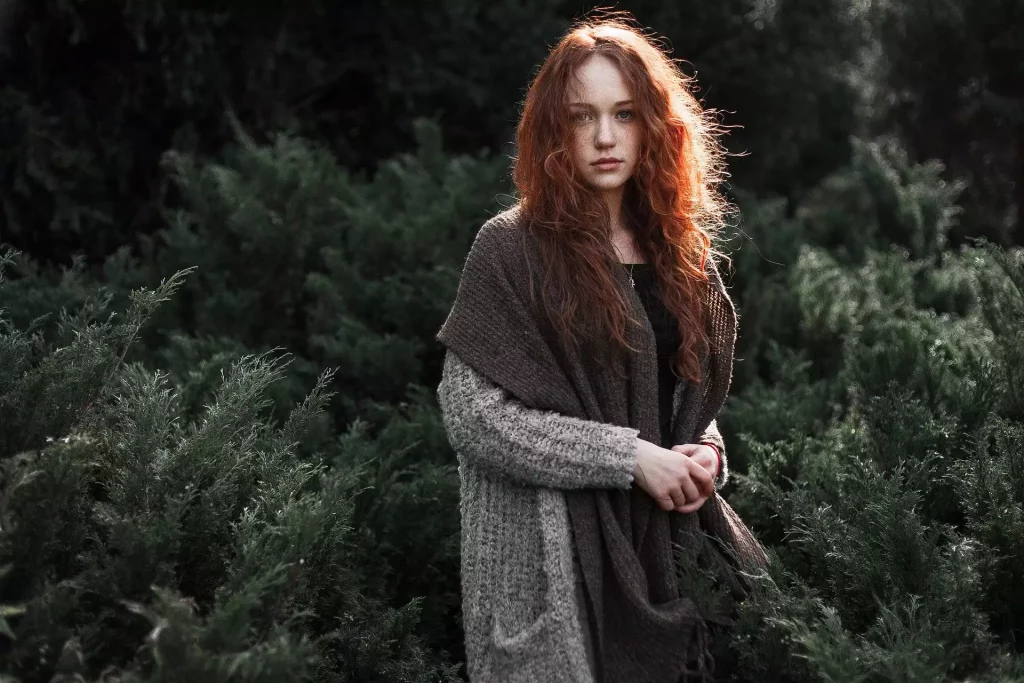
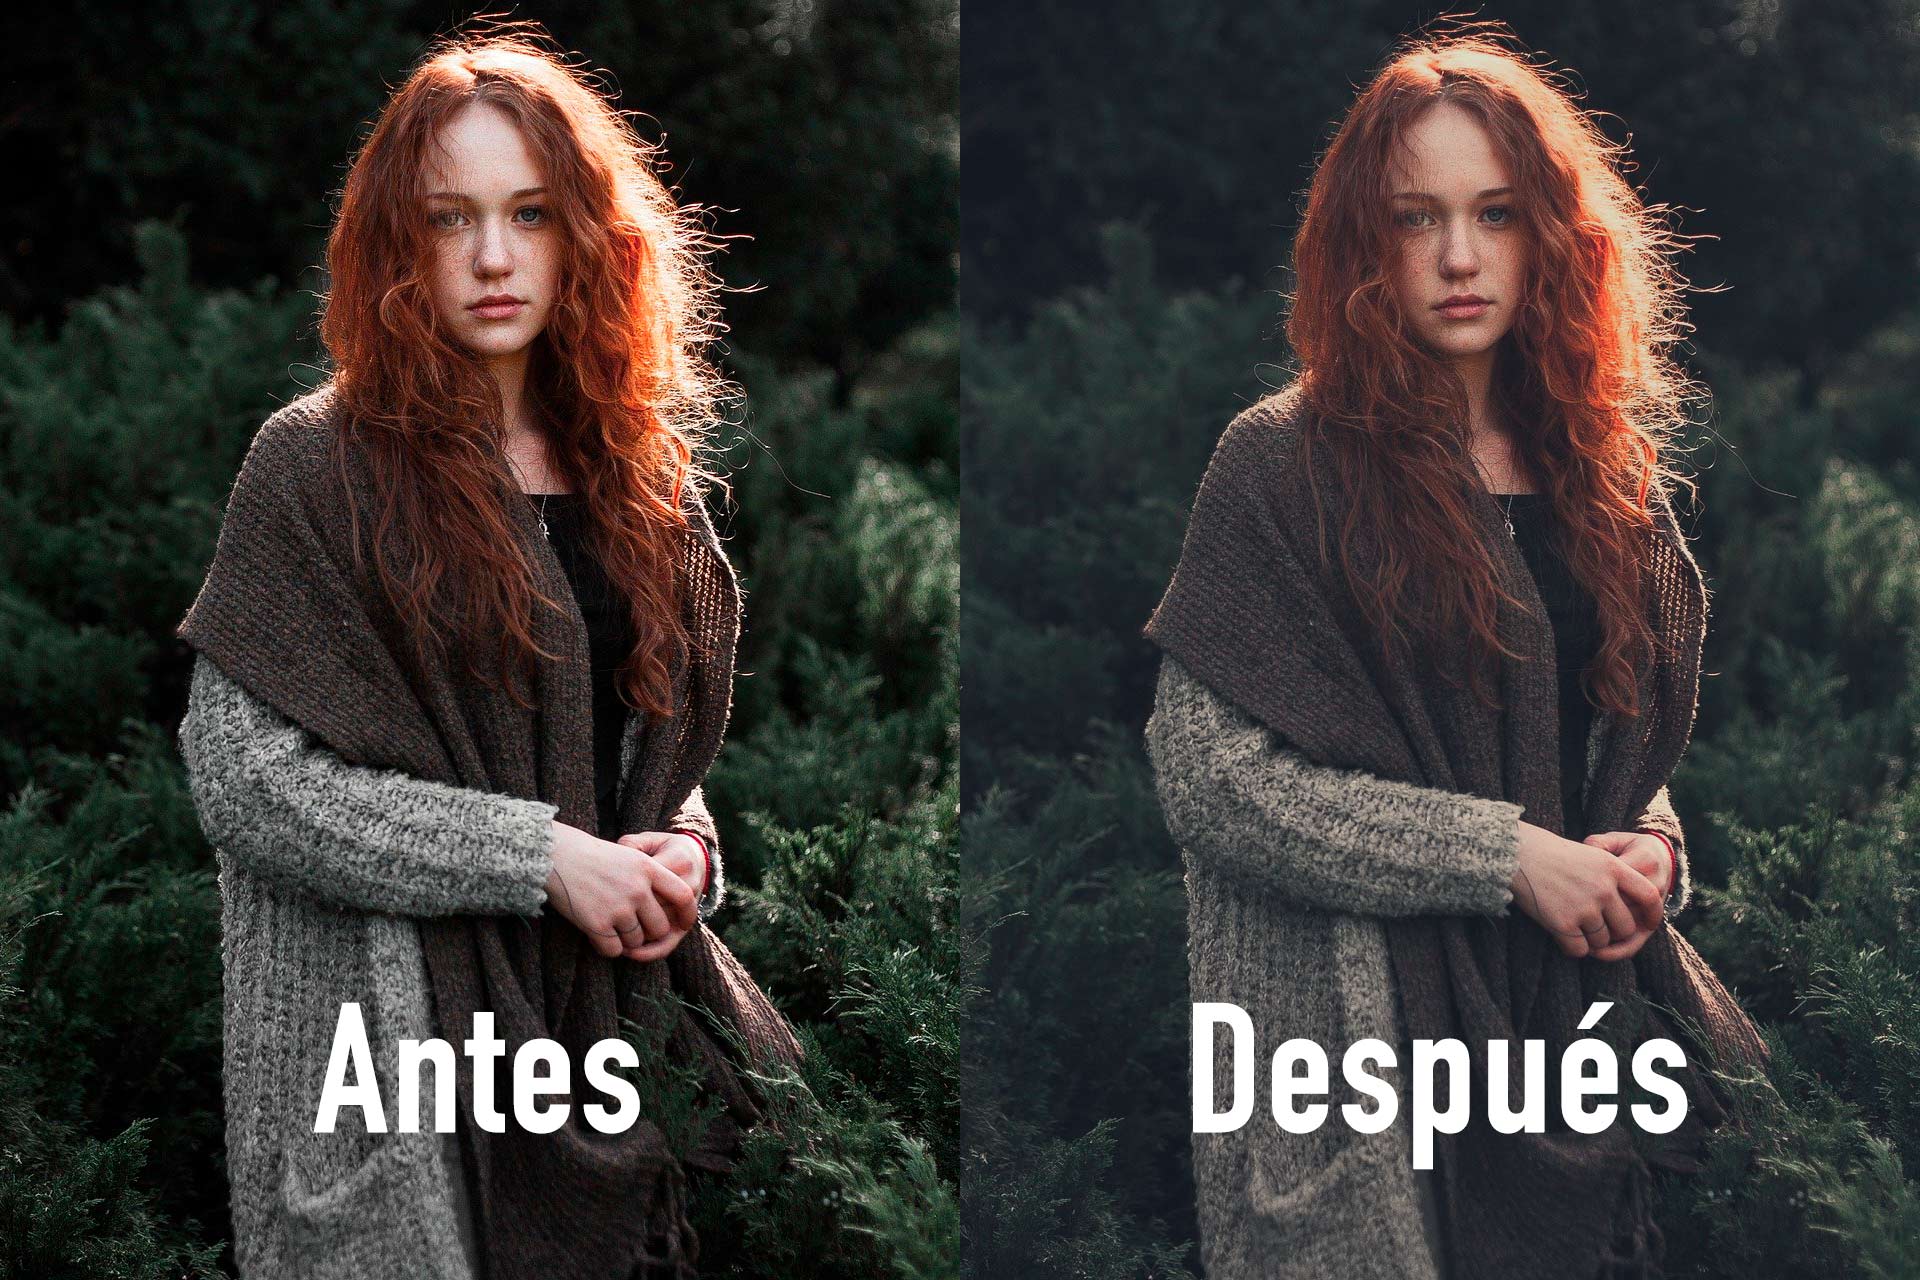
After applying those values to the example photo, here is the result:
Straighten your photos
If you are just starting out, you miss one of the most important things … the photos have to be straight. This error is usually the most common, especially in landscape photography. But it can also happen in portraits, especially if there are elements in the scene.
The solution is very simple. Just choose the Crop Tool and rotate the image until it is straight with the help of a ruler. If you want to make it even easier, at the top of this Tool you have the Straighten option.
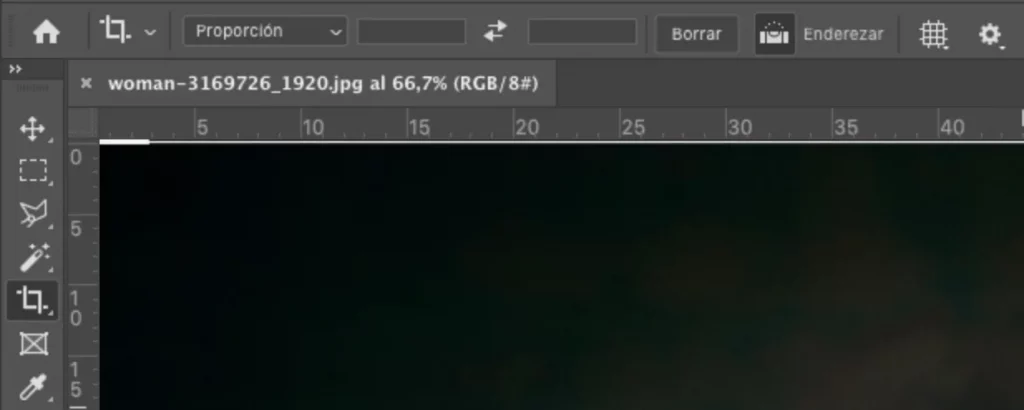
Once you select it, draw a line on your photo. Photoshop will rotate the photo exactly as necessary so that your photo is completely straightened. Don’t forget to crop the photo now so that there are no empty edges on your photo.
Adjust the composition
I’m not going to talk about composition in photography. But I recommend that if you don’t know the rule of thirds in photography, at least you know it. The composition will help your photos improve considerably.
A bad composition can ruin good staging or landscape photography. With good composition, you can make a boring landscape something interesting, if you know what elements to include or exclude from it.
To learn composition, it is best to train your eye, read a lot, and see a lot of photos. Yes, I know you’ve come here looking for quick tips but Rome wasn’t built in a day.
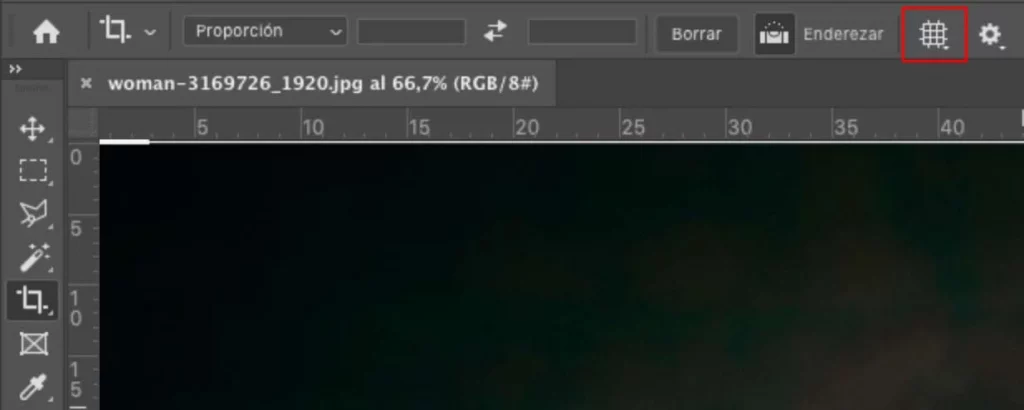
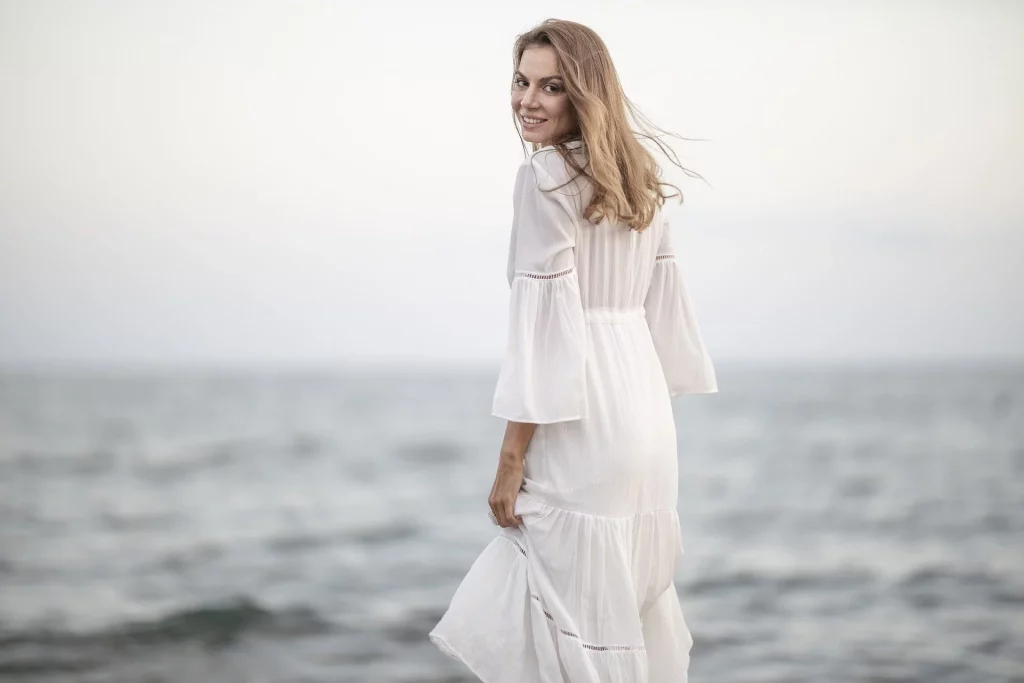
For portraits, it is very good to follow the rule of thirds. It is easy to understand and very easy to adjust in Photoshop. With the Crop tool, select the Rule of Thirds option on the grid button.
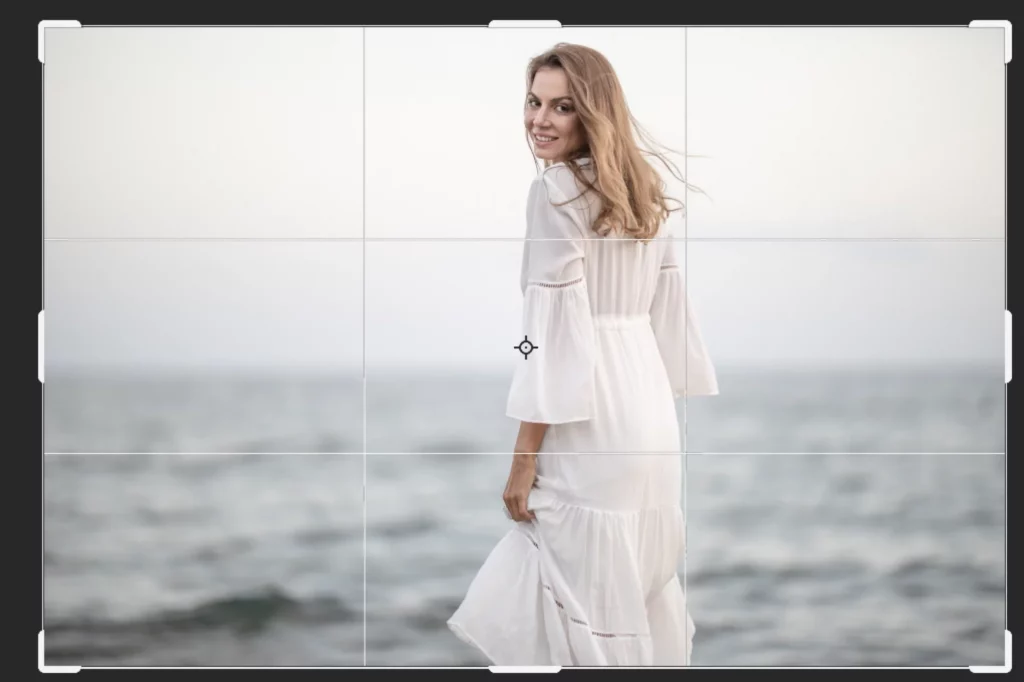
Try to make your elements coincide with the lines of the Rule of Thirds. It will help emphasize your compositions. If your model is facing left, place it on the right vertical line and you will see the change.
You can also use this tool to remove distracting items from the frame. For example in travel or street photography, but also people in your landscapes. In our photo tours to Iceland, it can happen that some other photographers are in your composition.
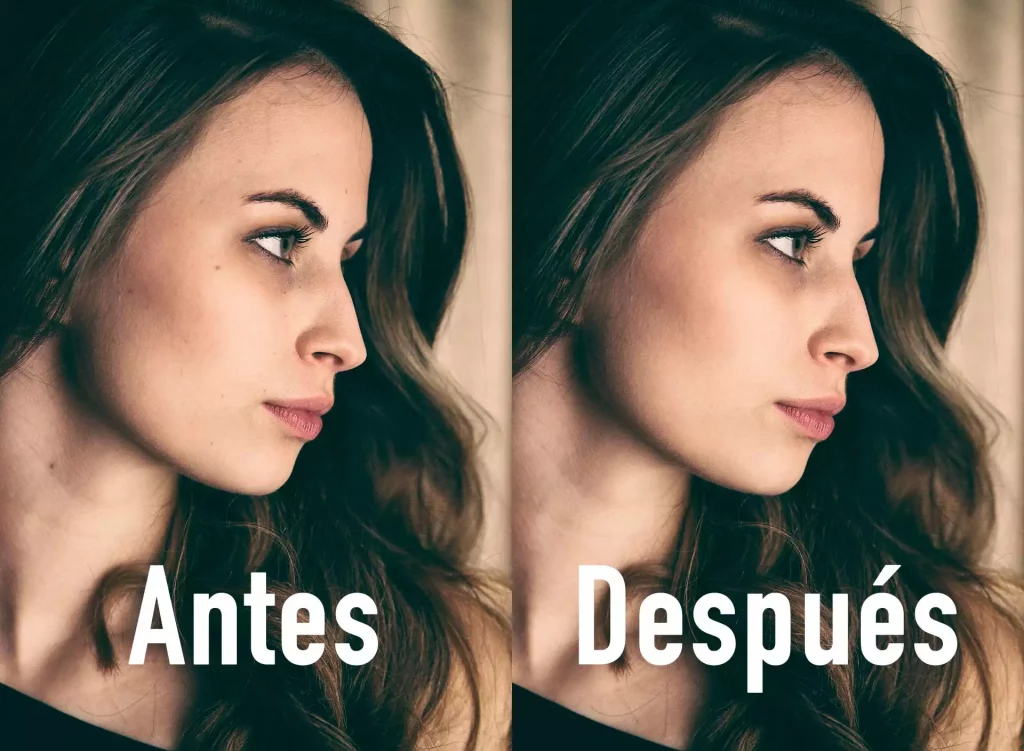
Change eyes color
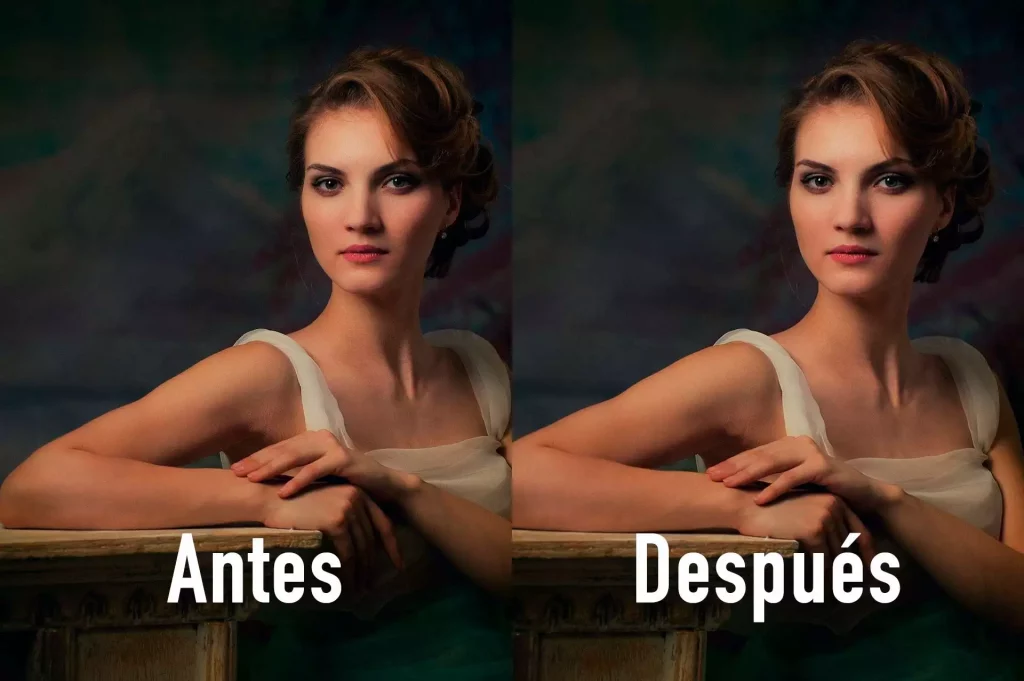
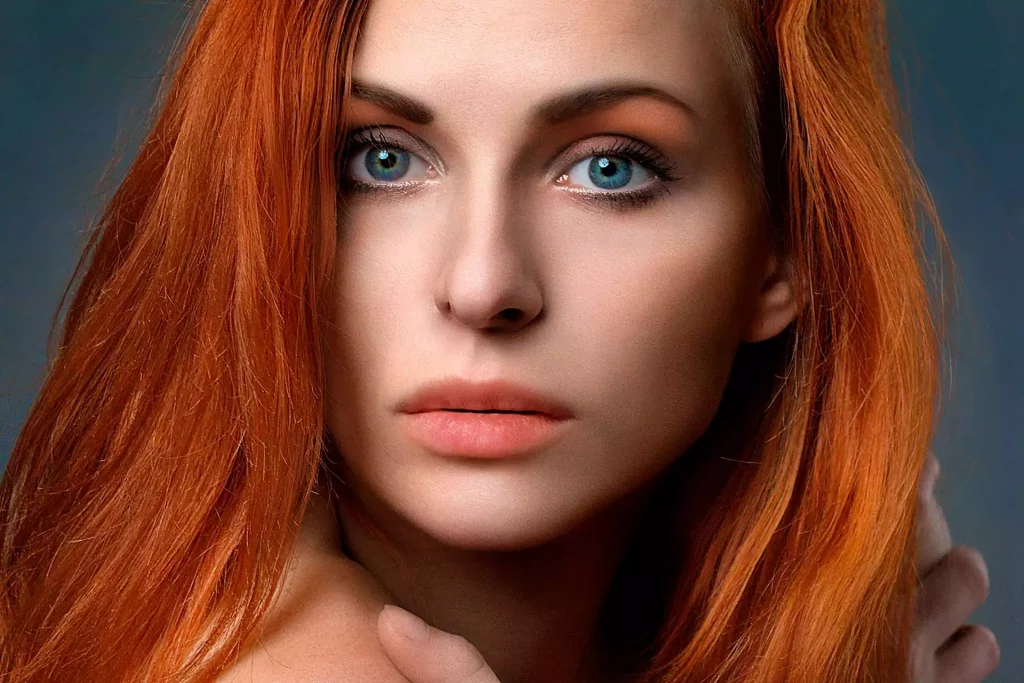
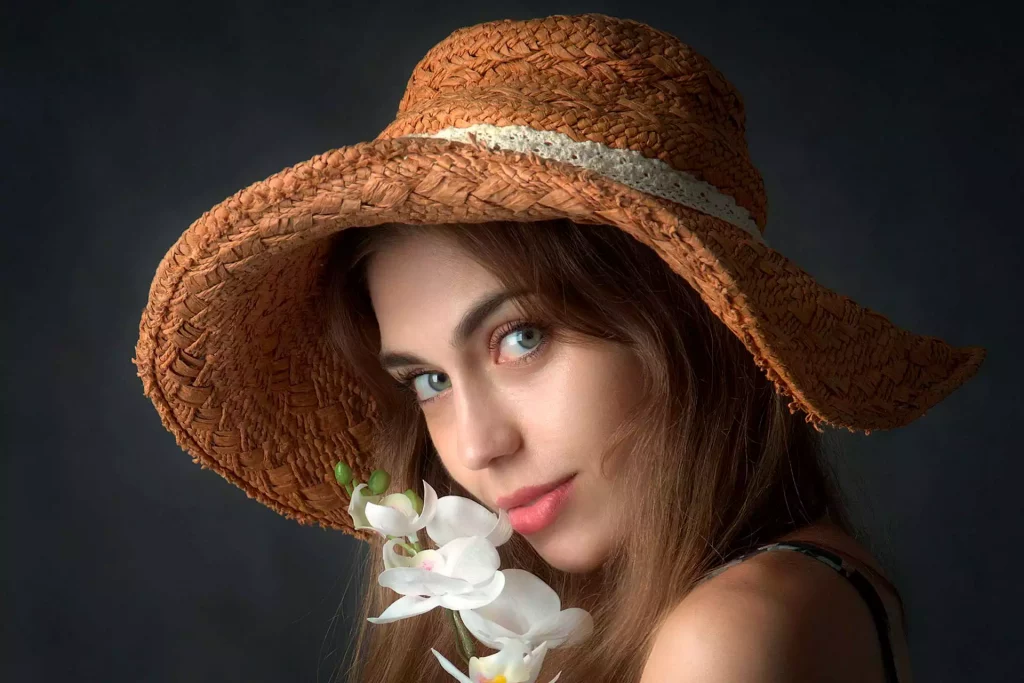
One of the quickest and easiest adjustments you can make to a portrait is to change the color of the eyes. When I say change, I also mean to highlight the color of them. Usually, the best thing to do with your portrait photos is to add more color to your model’s eyes.
There are thousands of ways to do this, and I could explain in more detail what a Dodge and Burn is. But I will not elaborate and I will explain to you how professionals do it quickly.
Once we have the photo open in Photoshop, we will go to Layer-New-Layer. A menu will appear where we will only have to choose these options:
- Soft Light Mode
- Fill with a neutral color Soft Light (50% gray)
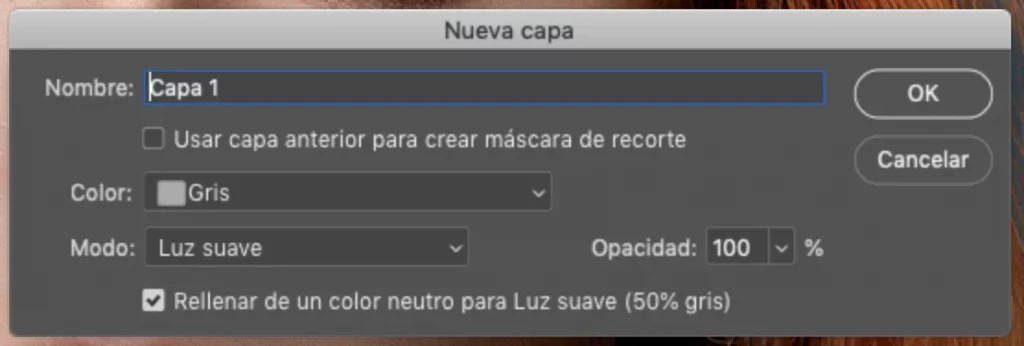
The rest of the options leave them as it comes in the image. It’s the default options, so you only have to press OK.
Now we will have two layers in our photograph. One with the photo and the other completely gray, which will not affect our image at the moment. This layer is called Dodge & Burn.
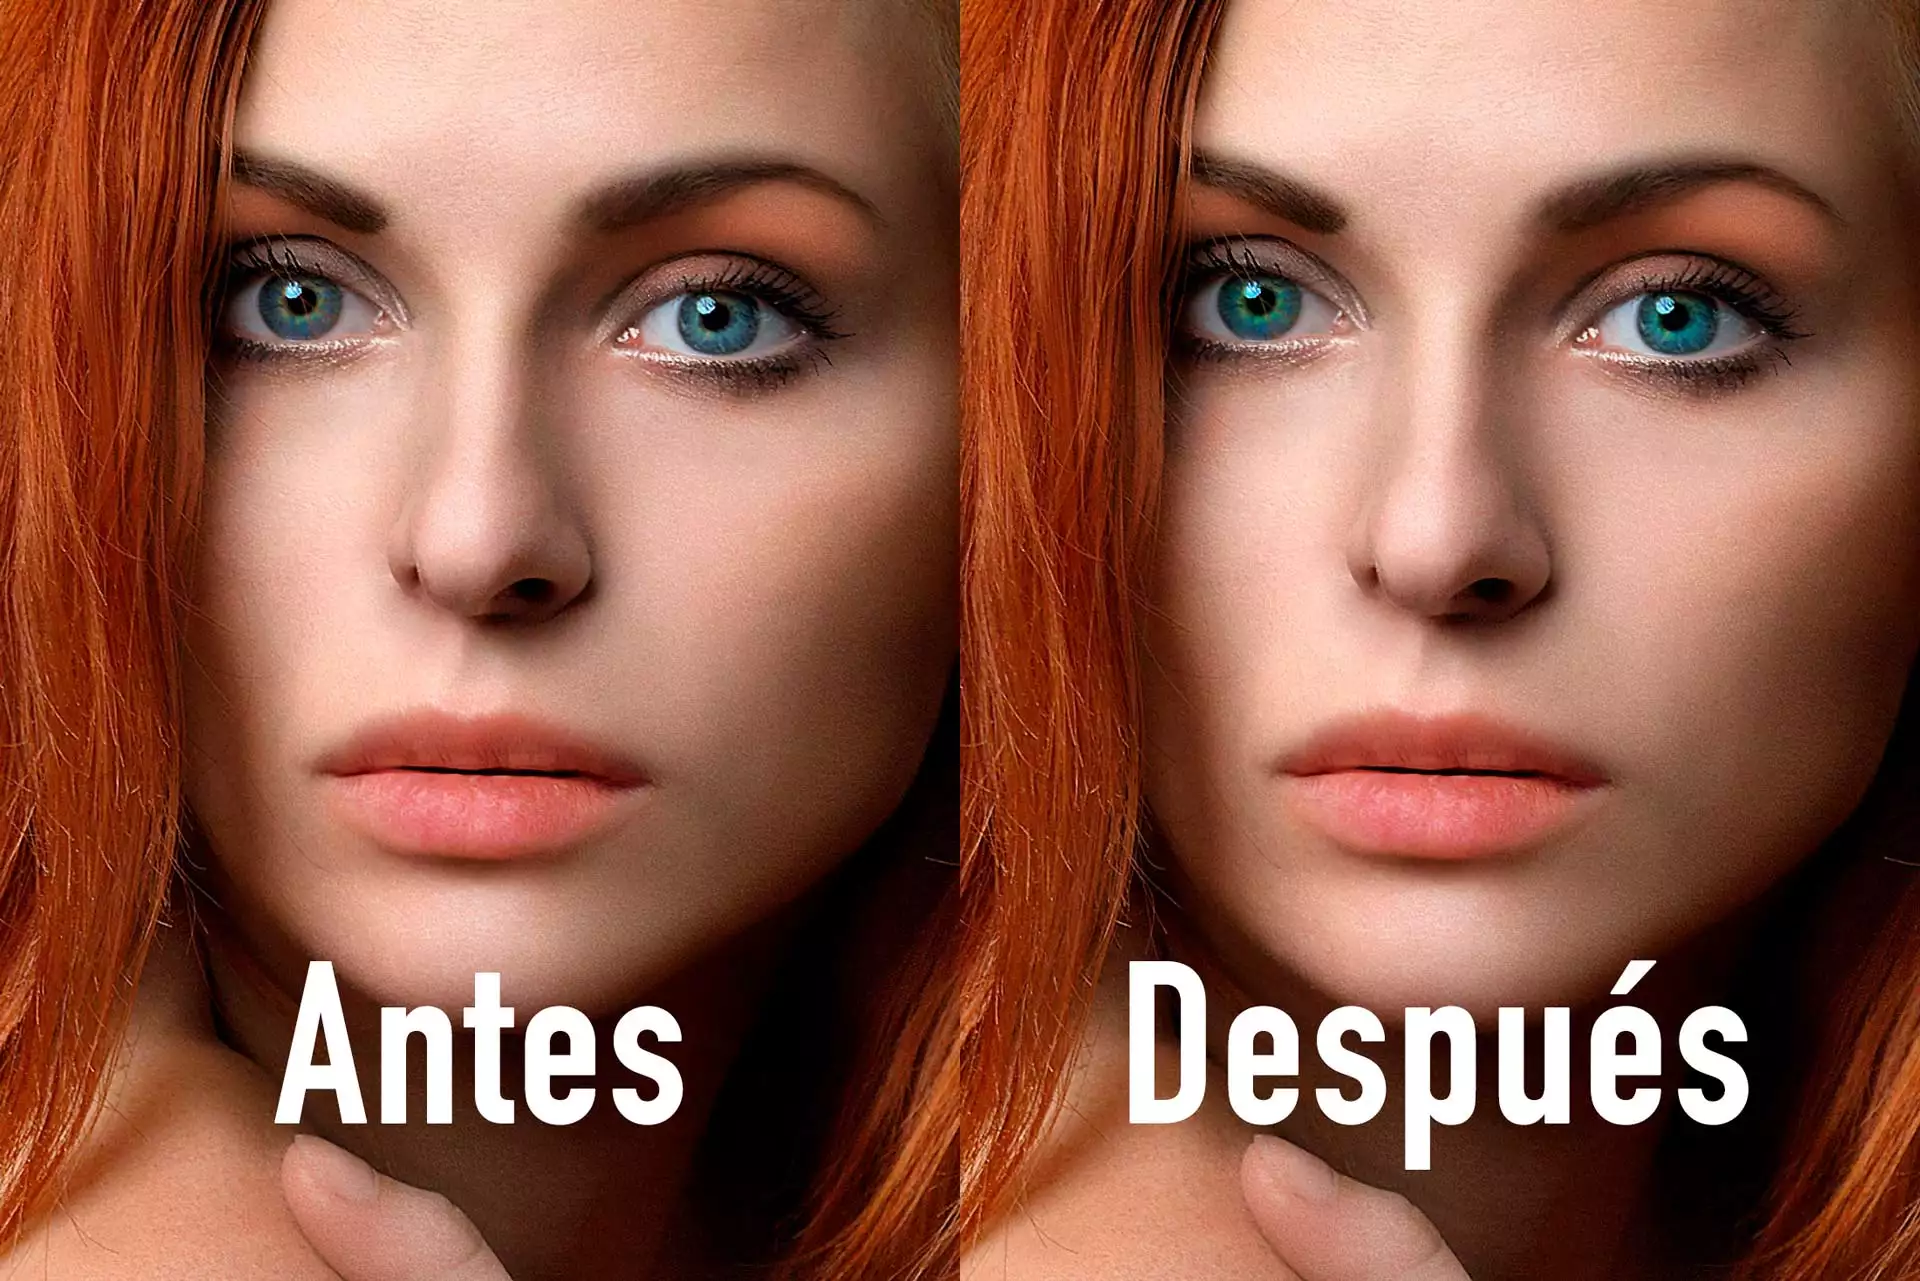
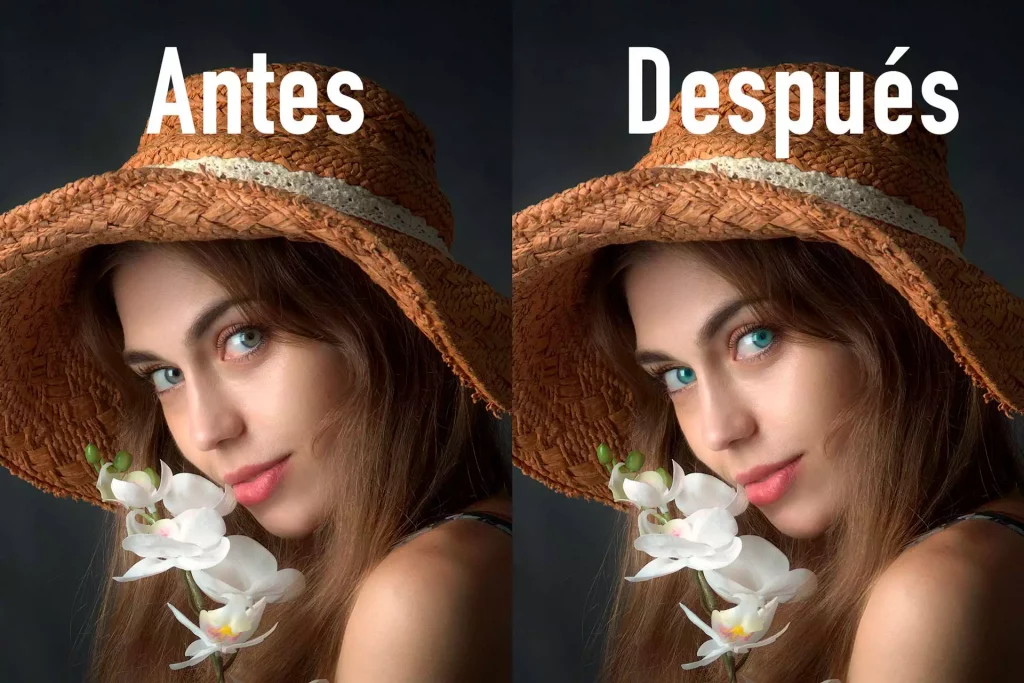
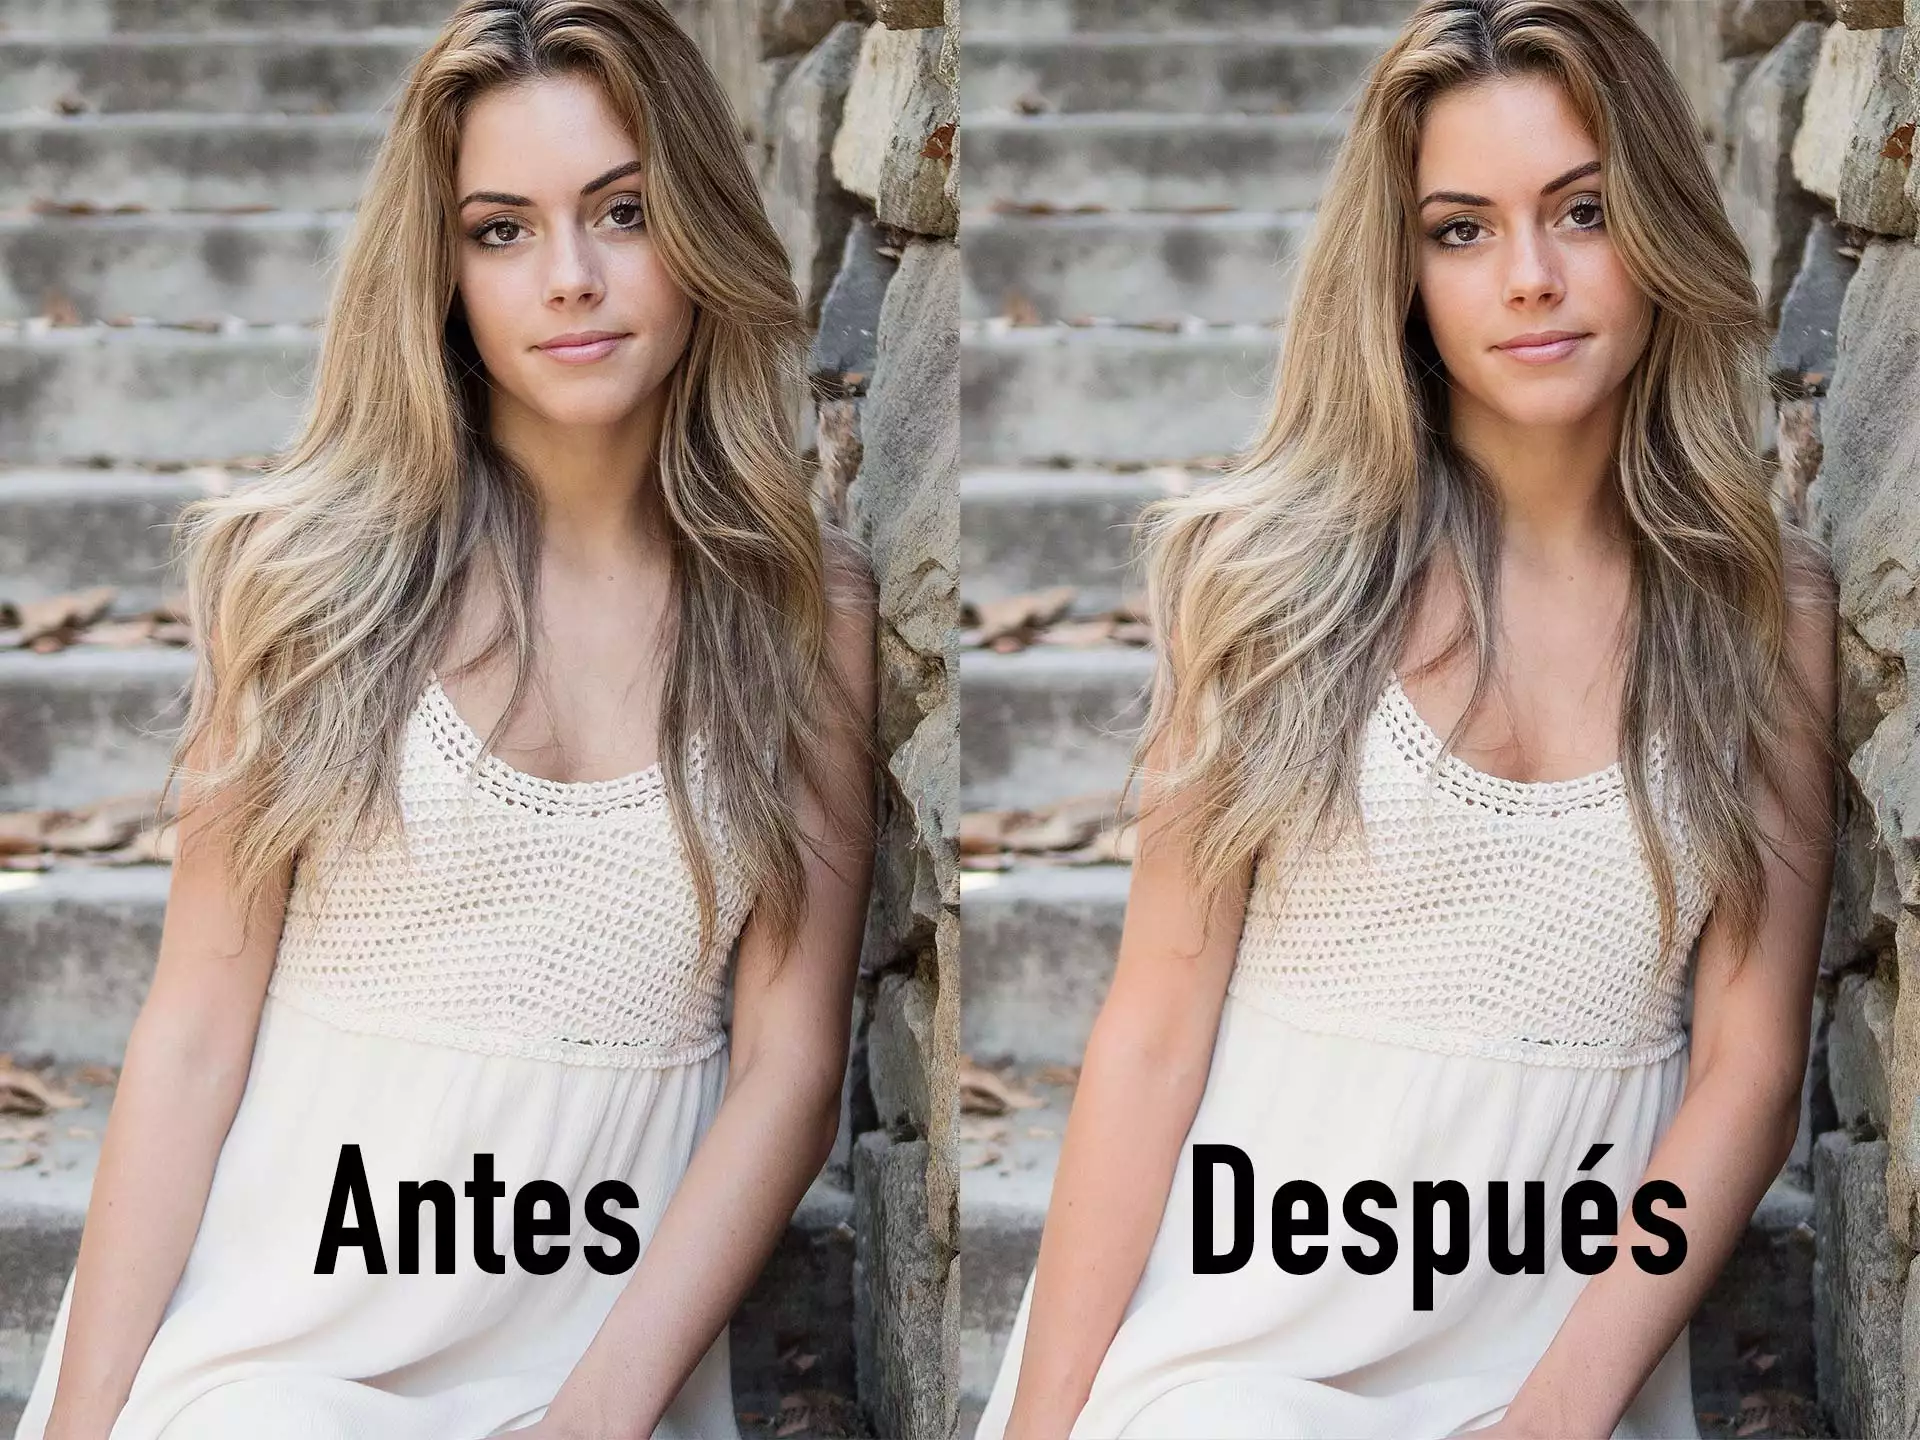
If you are carefully painting with a brush, you don’t have to select anything. I use a brush with 0% hardness. I usually lower the opacity to 50%, but you can raise or lower it. Now we only have to draw the eyes with the chosen color. In this case, I have chosen the complementary color of the hair. It is a greenish-blue similar to the color of the eyes, but it will help bring out that natural color.
I usually lower the opacity to 50%, but you can raise or lower it. Now we only have to draw the eyes with the chosen color. In this case, I have chosen the complementary color of the hair. It is a greenish-blue similar to the color of the eyes, but it will help bring out that natural color.
As you can see, the steps are very simple. And here you have the result in just a few clicks.
How to remove red eyes
Another quick and useful edit in Photoshop is removing red eyes. In most cases, this process takes less than 1 minute too, and is easier than changing the color.
If the veins are very marked, you still can use the Healing Brush tool to remove it. But normally, just use the following tip to remove that red color.
As you can see in the photo, the red of the eyes draws too much attention. If we desaturate all the reds in the scene, we will lose color on the lips mainly. So we will have to create a mask to be able to adjust by zones. Go for it.
I create a Hue and Saturation adjustment layer. If you don’t know where to find it, you can easily find it under the Layers panel.
Once created, we will have to choose to work only on the reds in the image. To do this, click on the drop-down and select the Red channel.
Now lower the saturation to 50%. Remember that you are working on all the reds in the scene. So the next step will be to go to the mask of the Adjustment layer and invert the mask to black.

To do this, click on the Hue / Saturation mask, and press Ctrl+I (Command+I in Mac). Now the layer will not affect all image. We will only have to draw on the eyes to eliminate the red from the eyes.
Like the previous process, I recommend using a brush at 30% Opacity. Try not to use masks to make the process faster and easier. With the brush you will avoid hard lines in the transitions.
Here is the before and after including a color change. It didn’t take me more than 2 minutes!
White teeth
Cleaning your teeth is important. But it’s not your fault that your model has yellow teeth, right? If we want to do a quick teeth whitening (and cheaper than in the clinic), just follow the same steps as before.
The only difference, in this case, is to choose the yellow channel instead of the red channel. Normally 50%, it’s also sufficient. As I have already told you before, try to make it natural and not so white. It’s about making natural edits.
How to Remove pimples
Removing pimples in Photoshop is an easy task for a photo. If you have to do it for the entire session, it will take longer. So before teaching you how to remove pimples in Photoshop, I recommend that you ask your model what photos they want.
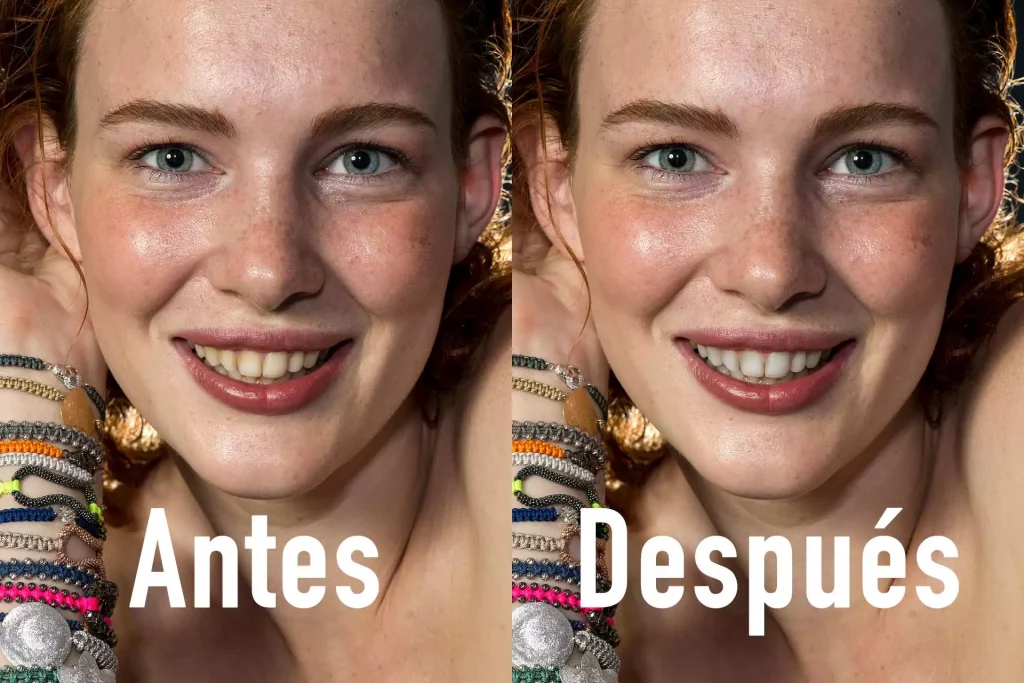
The tool I like to use in this case is the Healing Brush. You can do it in many ways, but with this magic brush, you will work fast and easy. We’re just going to have to tell Photoshop which part of the face is clean. Once the base point has been chosen, we will click on the different pimples or freckles that we want to eliminate.
The pimples are usually better to remove them, regarding freckles it will depend on what you choose with the person you photograph. In this case, we are going to clean the face of both pimples and freckles.
The more you use this tool the better. The base point we choose will determine whether Photoshop does its job better or worse. For this, I recommend you to create an empty layer to work on. Go for it.
Once we know what we want to remove, we will select the Healing Brush.
We create a new layer so we will not destroy the original. Let’s go to the Healing Brush Tool.
On this layer, we go to the photograph and choose a part of the face that is clean. We press Ctrl and click. Now we just have to click on each grain and it will magically disappear.
If the result does not convince us, we delete and select another point again. Also make sure that in the Healing Brush options, the sample is in “All layers” or in this case it would be enough with “Act. And inf.”
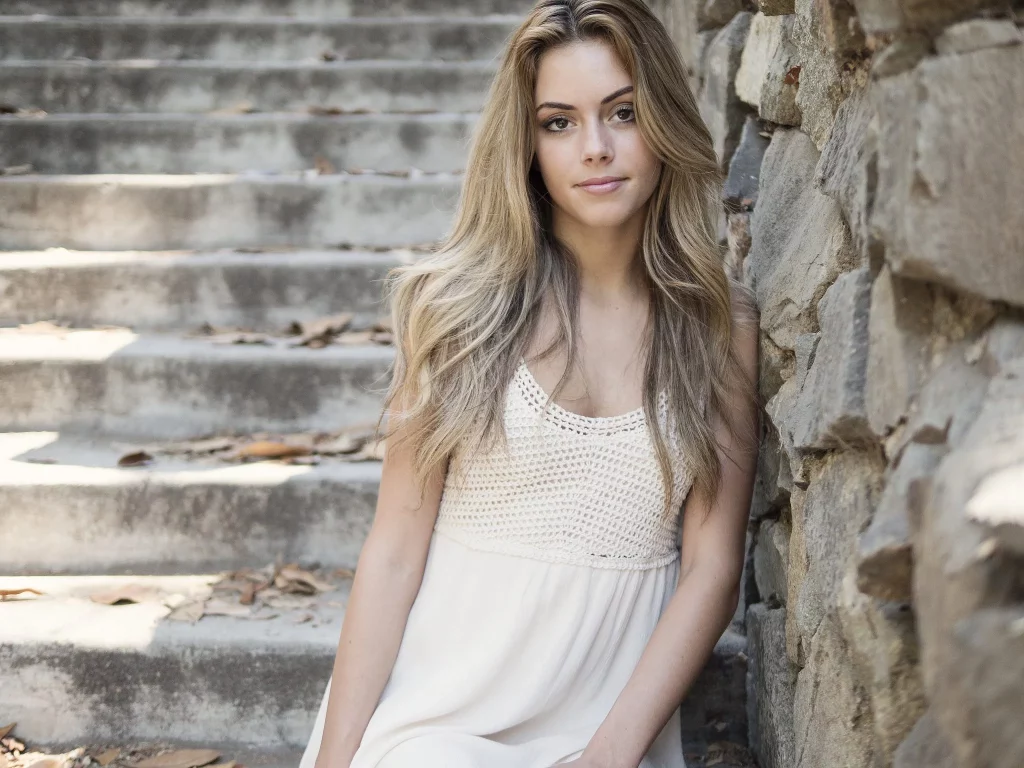
Remove hairs with Photoshop
Another option in which we could use thousands of techniques and ways of retouching hair. If we are thinking only of removing those annoying hairs on the face, the process is just as simple as the previous one.
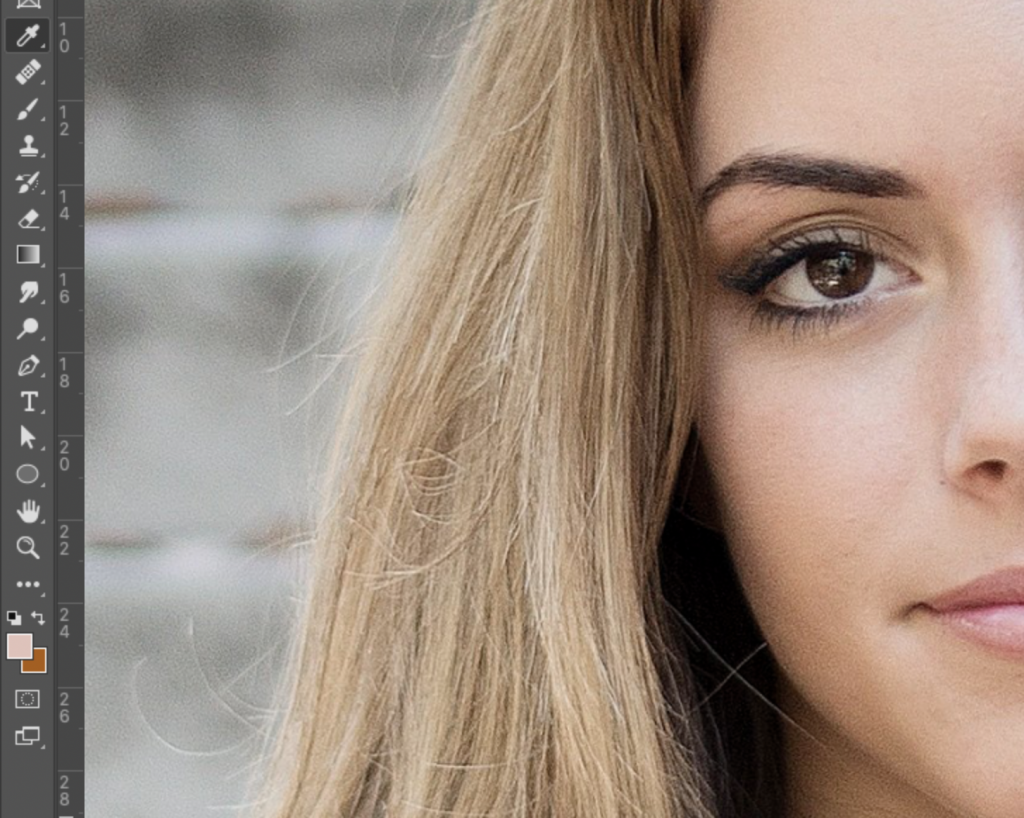
We will have to follow the same steps as before with the correction brush. In this case, it will not just click one time, but we will have to be a little more careful for each hair.
Don’t try to do long hair at once. You need to work by areas, selecting different parts of the clean skin to eliminate that annoying hair.

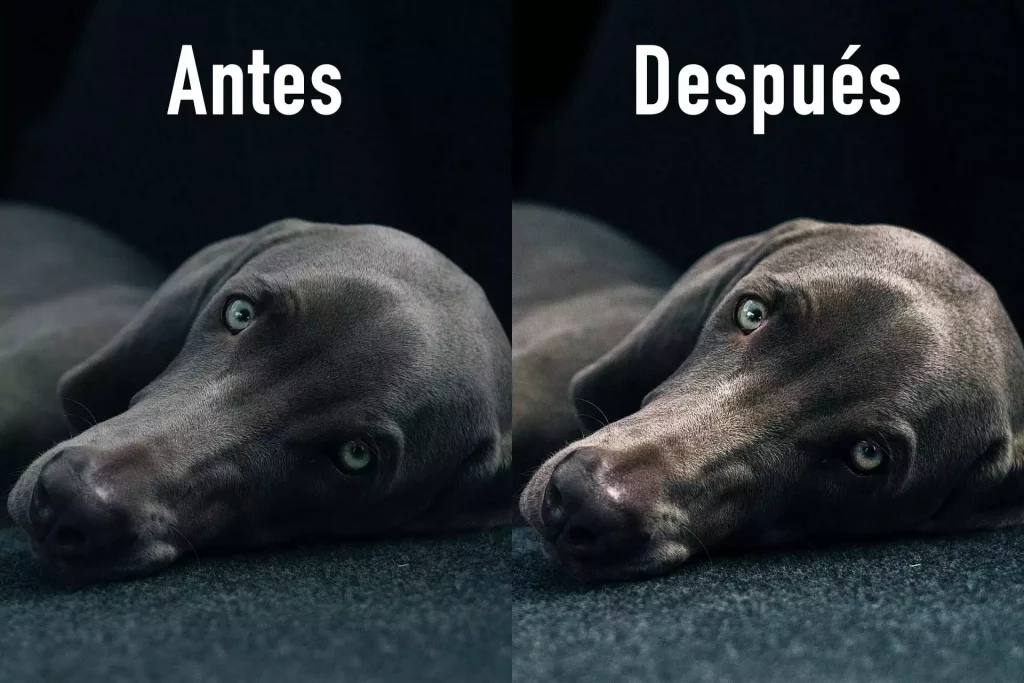
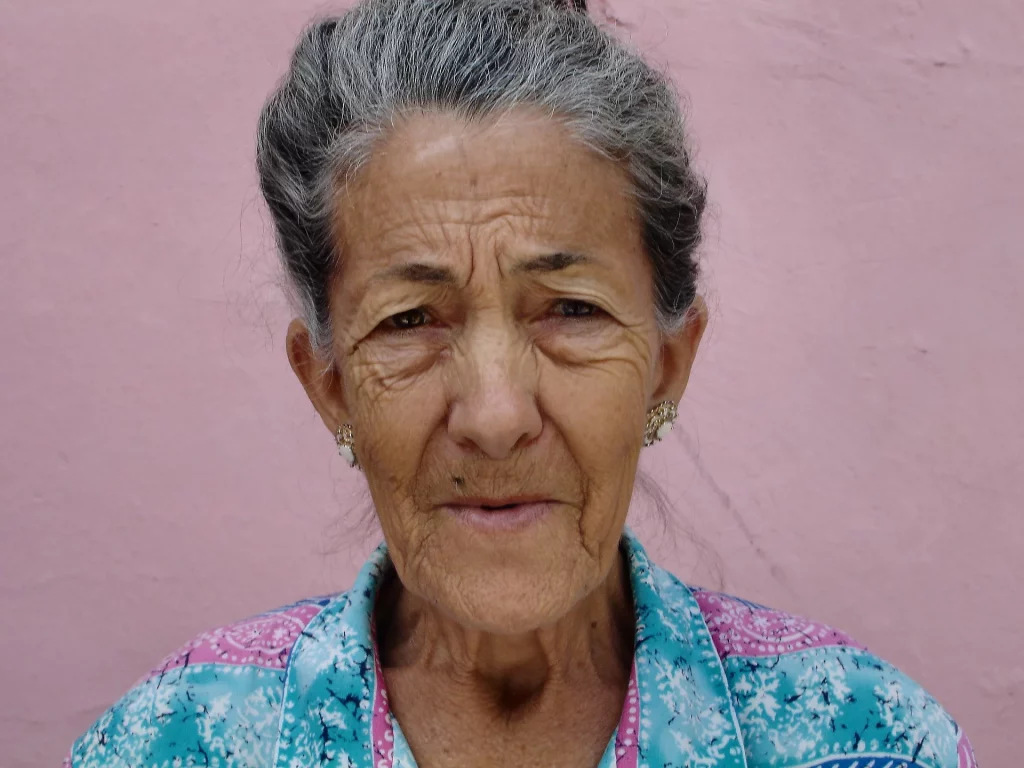
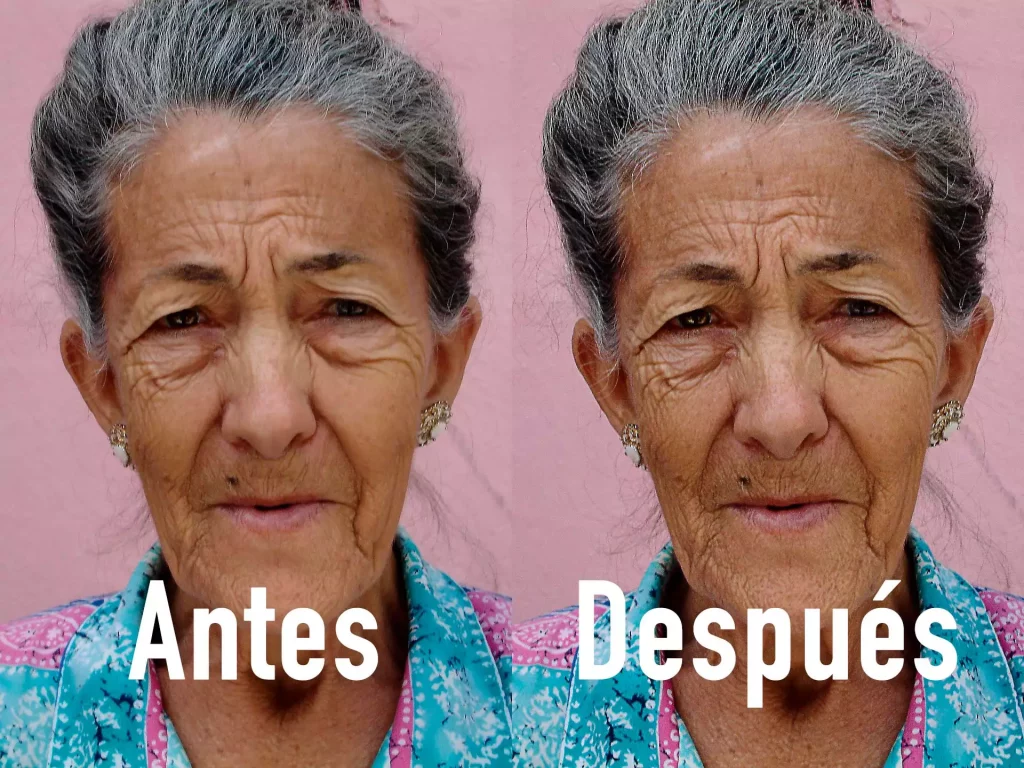
Highlight wrinkles
Did you say highlight? Yes … I said highlight wrinkles. Logically this you will not apply to photos like the previous ones. Unless that you want your beautiful models to get mad at you. This trick works very well to highlight the details of the face in older people.
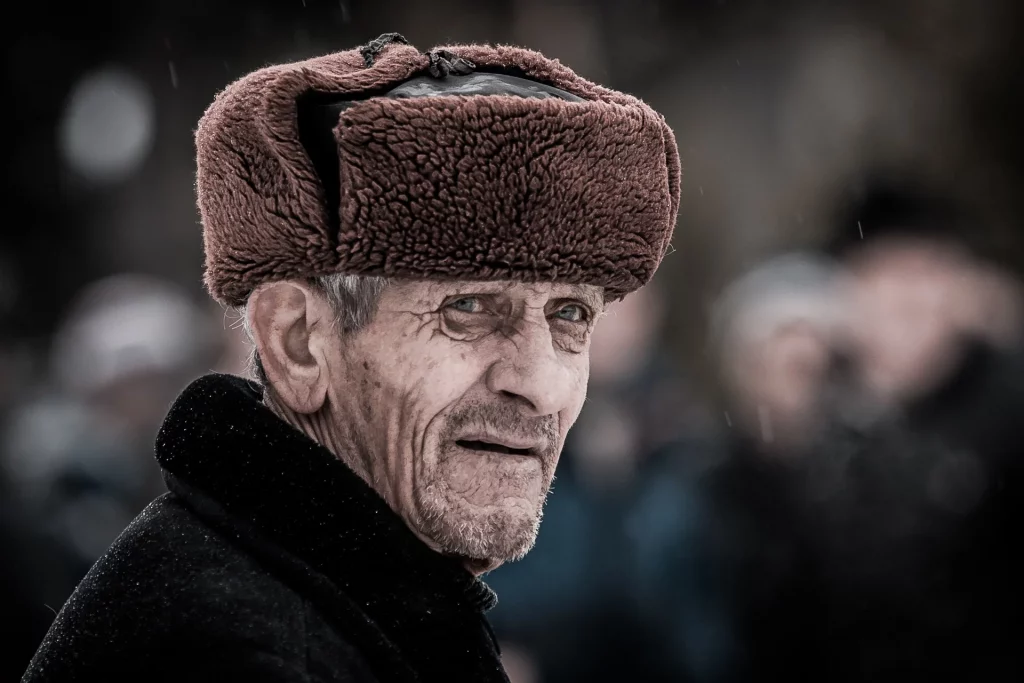
You will see how this will give a lot of strength to your photos with a few steps. It is normally applied to Black and White photos and I am sure you have seen it thousands of times. If you haven’t realized it, you have seen good photos.
To achieve this effect, there are many ways to do it. The easiest is the one that I am going to explain to you below. Remember to apply it carefully and always knowing that you are doing the portrayed person a favor.
To begin, duplicate the photo layer, remove the saturation, and apply a contrast with curves. I do it from the Image-Adjustments menu, but you can also apply it with adjustment layers.
Once we have the duplicated layer with these settings, we go to Filters-High Pass. The values will depend on the resolution of your photo, if it serves as a reference for this 1920px photo, use 20px.
Apply the effect and change the blending mode to Soft Light. If the effect is so strong, you can always change the layer’s opacity. If you want more effect, you can duplicate the layer. In the example, I just changed it to black and white and gave it a little more contrast. As you like it!
Soften or Remove Eye Bags
This retouch I advise you to do it softly. If you go overboard, when you show the photo to the person in the photo they will not be recognized. If you have to be careful with other tricks, with this one more. Removing them completely will give an unnatural look.
As always, you have a thousand ways to do it with Photoshop. But the fastest way is with a curves layer. This layer has many hidden functions, I leave you here a tutorial on this powerful Photoshop layer. Controlling curves is your best ally for editing photos in Photoshop.
If you’ve already seen the tutorial, great. If you keep reading and do not understand any step, the tutorial explains (among other things) these tools. It’s in Spanish, but you can easily understand the steps.
We create a curves layer in the layers panel. Before doing anything, we will have to select the adjustment layer itself. By default the mask will be selected. It is important, so be sure to have the same selected as in the image above.
Now in the curve adjustment panel, double-click on the first eyedropper. The color panel of the image and an eyedropper will open. With it, on the image, we select a luminous color of the face.
Press OK. Photoshop will ask us if we want to save the default colors, we say No. If you look closely, the dropper continues to appear if you move the mouse over the image. Now Photoshop is asking us about the colors of the image where colors are to be applied. So select the darkest part under the eyes.
Now comes the final step. Reselect the curve mask and hit Ctrl+I to invert it (Option+I on Mac). With a 10-20% brush, paint lightly on those bags that you want to reduce.
Be cautious, use a small brush, and don’t run. Zoom out from time to time to see how it looks. And in case you forgot, do it gently… Reduce them and do not eliminate them if you do not want the model to be recognized.
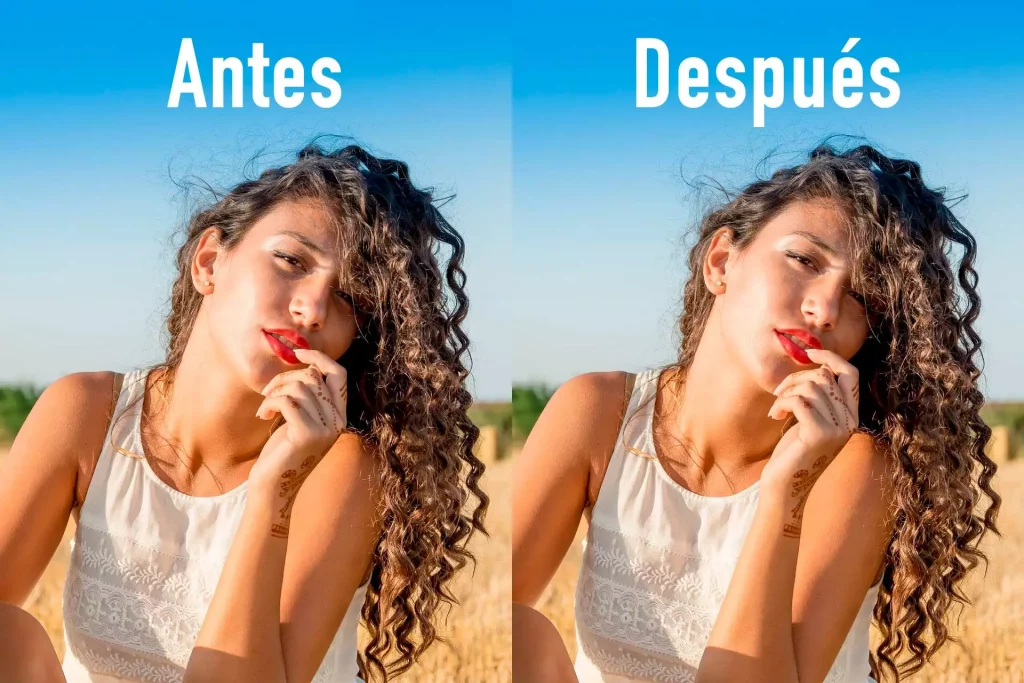
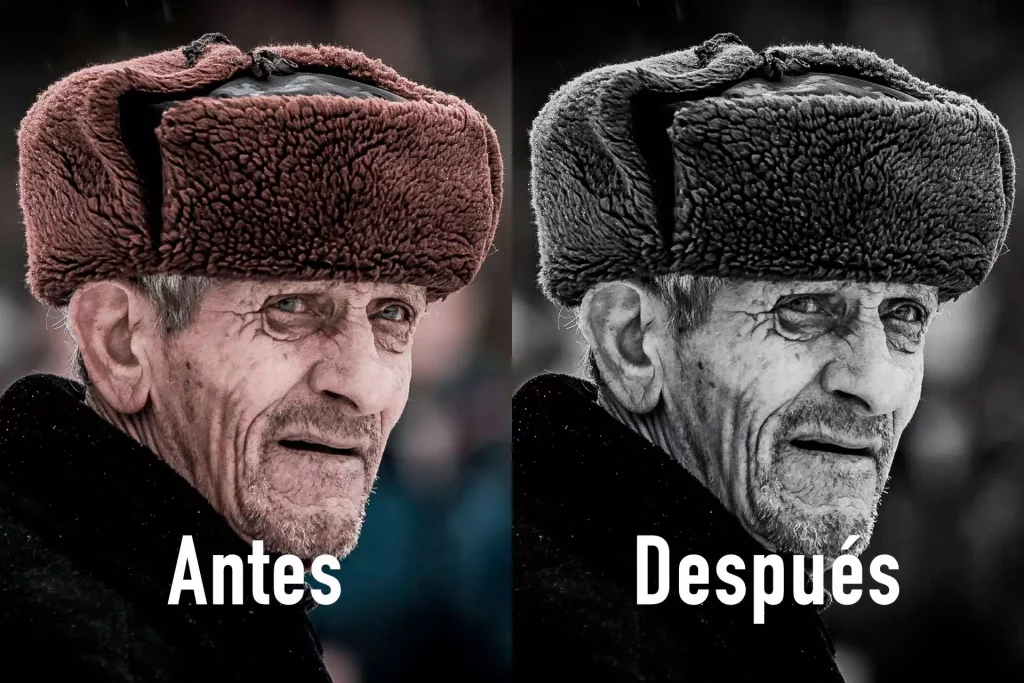
How to Tan Skin
Another quick and easy touch-up in Photoshop that you will surely practice is tanning the skin. If you are one of those who have missed the beach this summer, Photoshop will give you a hand. Another possibility is that those first photos that you have taken on the beach, do not have the same color as the last day. Don’t worry, you’ll see how quickly we fix it.
As always, you will have many ways to do it. But usually, the easiest is the most realistic. A tan is nothing more than a darkening of the skin. So we will only have to take the color of the skin as a sample, darken that tone and apply it to the skin.
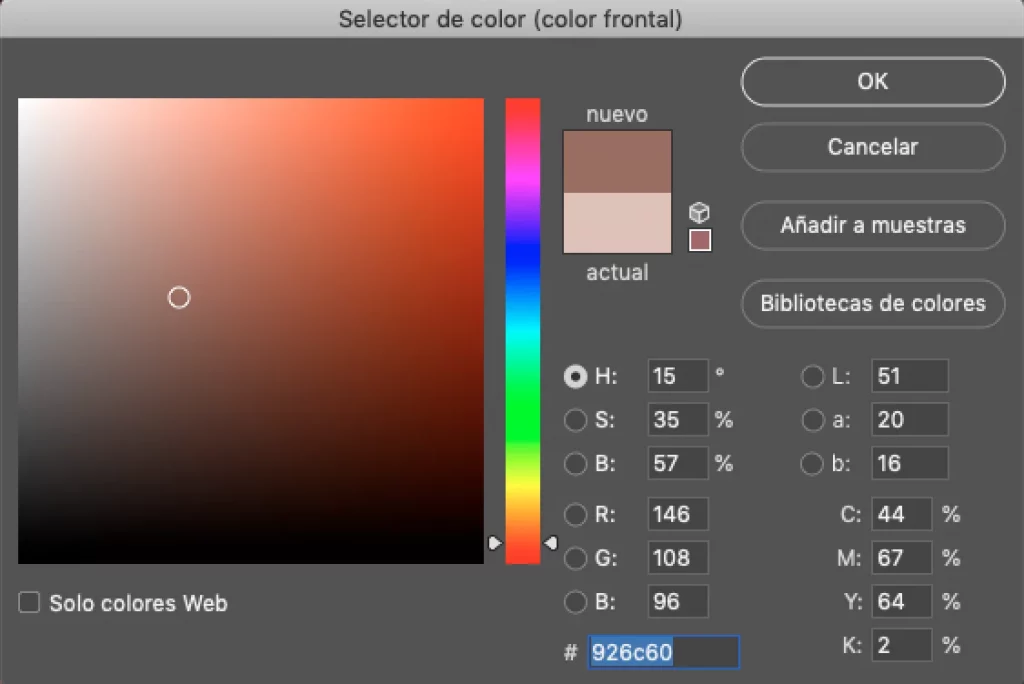
Let’s start by selecting a base color for the skin of the person we are going to tan. With the dropper, click on the part you consider.
Once we have it selected. We double click on the color in the toolbar. We are going to darken that color by moving the color down. You can also apply a little more saturation if necessary by taking it to the right.
Now we create a new layer and set the blending mode to Soft Light. We will only have to apply the color on the skin. To do this, paint gently with a brush at 30% more or less and tan your model little by little.
If you go overboard you can always erase the parts that have not turned out well. You can also create a second layer if you want to give more tan on a specific part.
As you can see in the example, it was not necessary to select any part. If your hair is a problem, try to be more careful with the brush. The soft light blending mode is your best ally to avoid having to select anything.
Shades of color in light and shadow
A technique widely used in photography, and especially in Instagram filters, is to add a touch of color to the lights and shadows. With this trick, you can get the typical effects, but the good thing is that you can modify them to your liking.
To achieve these effects, the easiest thing again is to use a Curves adjustment layer. You have infinite possibilities to play with, but before that I will explain a trick.
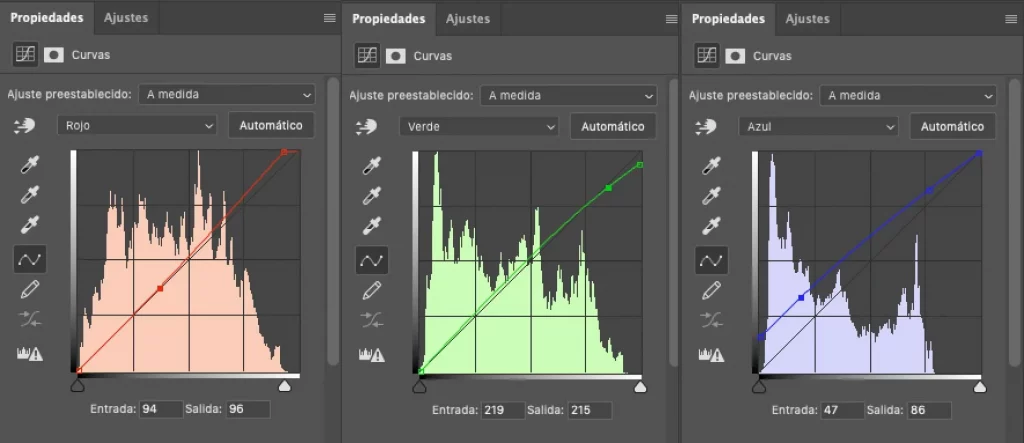
If you have not seen the tutorial that leaves you above, you will not know, so I recommend you see it before continuing. The curves layer offers you in addition to the RGB curves, the channel curves separately. That is Red, Green, and Blue. If we also know the CMYK channel (Cyan, Magenta, and Yellow) we can get these 6 colors by playing with the curves.
How do you apply them? Red is the opposite of Cyan, Green of Magenta, and Blue of Yellow. If for example you go to the Red channel and reduce the reds in the lights, you will get Cyan. Another example to finish understanding it is to lower the Blue in the shadows, getting Yellows.
Easy right?
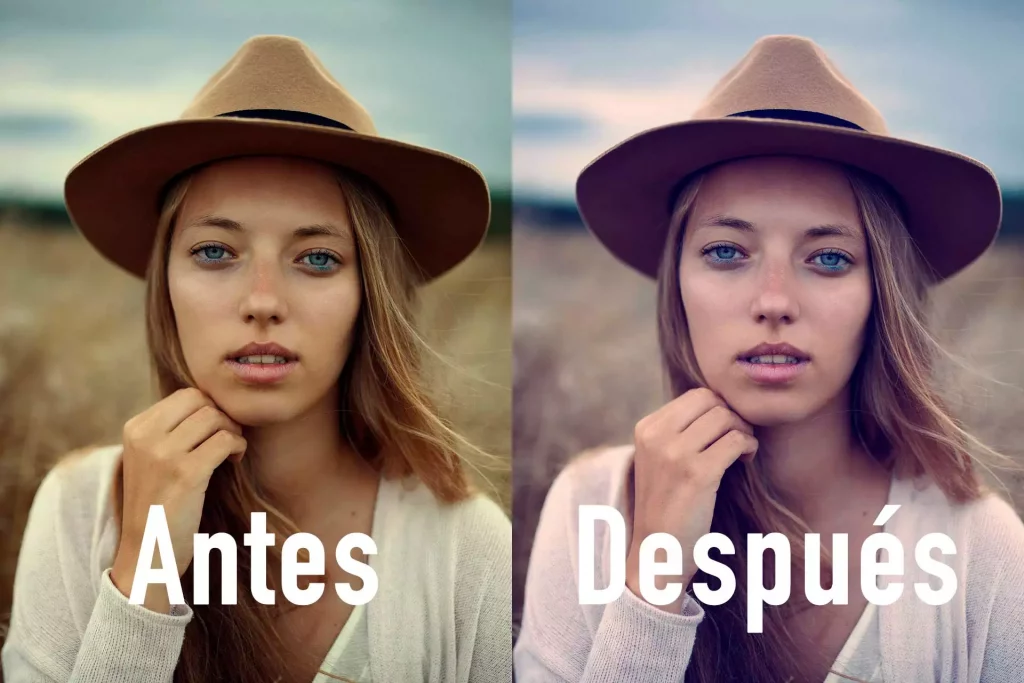
Applying this theory to your curves you can achieve the color effect you want. Play little by little with them, try and practice. Try to copy the style of photos you see with yours. Look at the tones in the shadows and highlights, and use the curves to give it that tone.
If you go color by color, little by little you will achieve the effect you want. And the best thing is that you can always go back to each color separately to finish retouching a tone that you do not like.
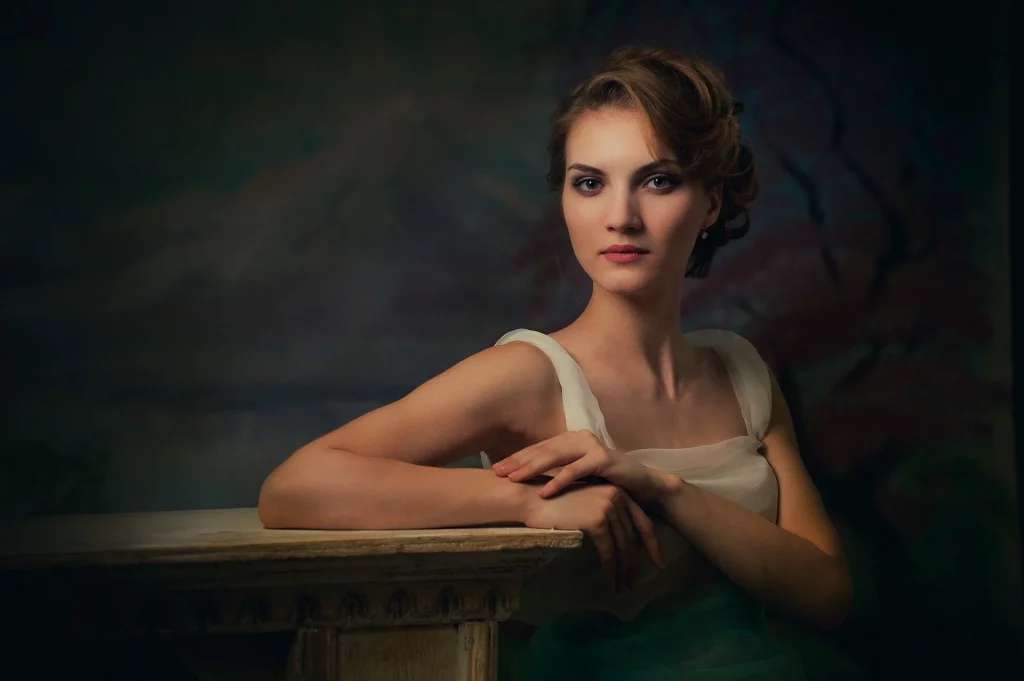
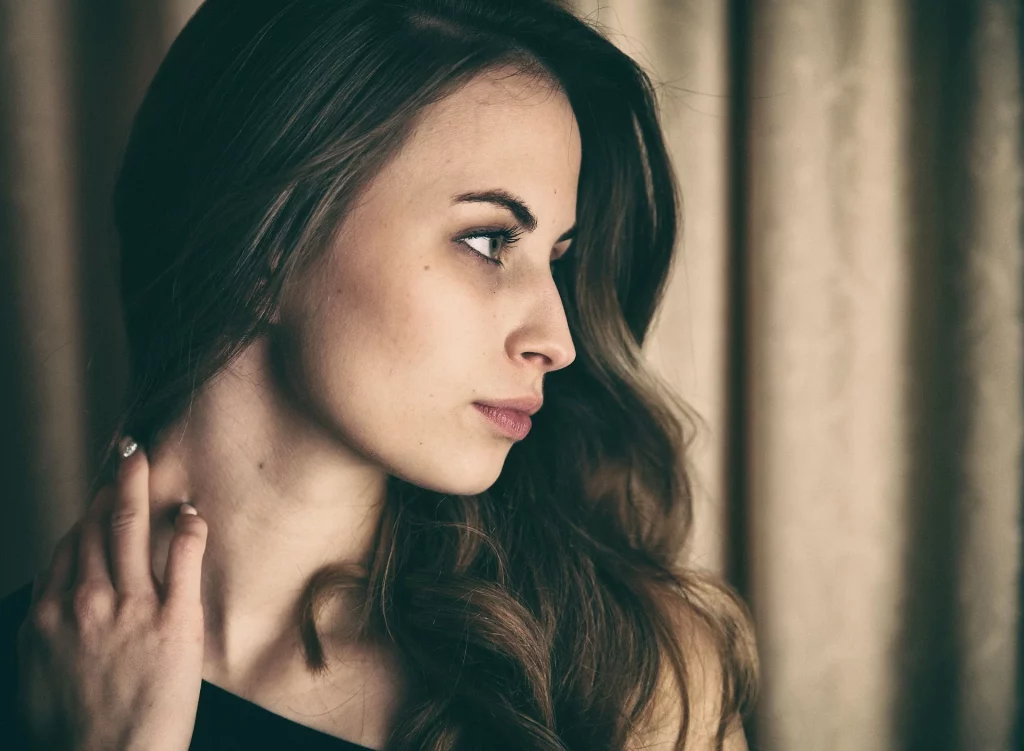
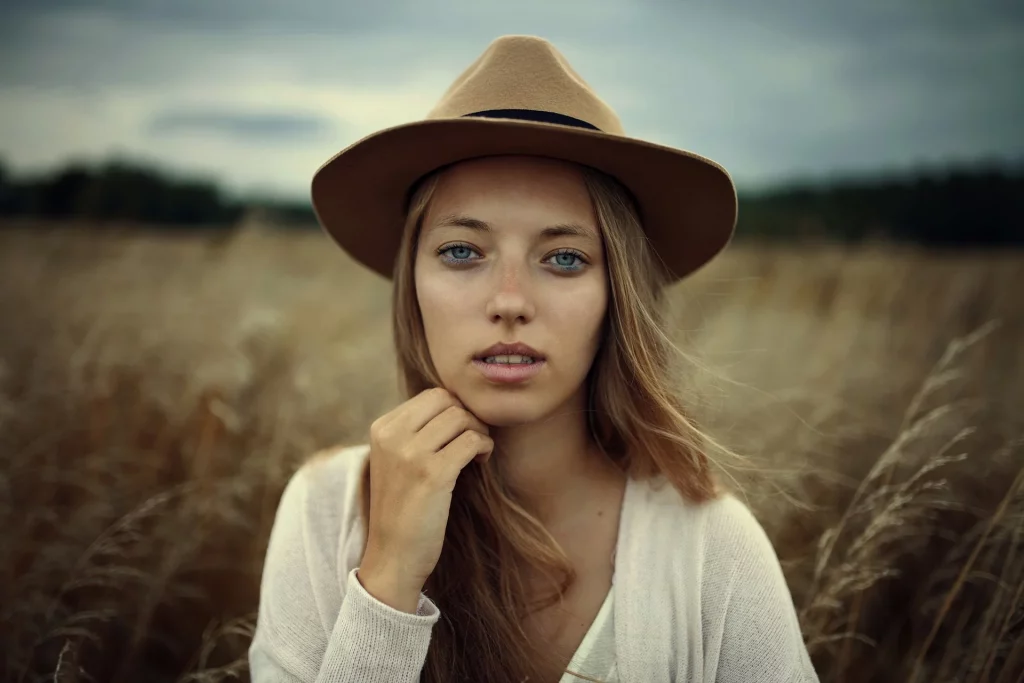
Vintage effect
If you have noticed the previous photo, I gave it a vintage touch. No, I didn’t use anything more than curves. To achieve this I simply raised the point on the left (shadows) upwards.
For this photo, we are going to apply the same process as above but we are going to focus now on the RGB channel. You can also apply it to the channel of a particular color.
As you can see, curves are the most powerful tool you have in Photoshop. Master it and everything will be super simple. All the photos that I am showing you will not take me more than 1 minute to edit. Practice and take your time, you will see how in less than you think you will do the same.
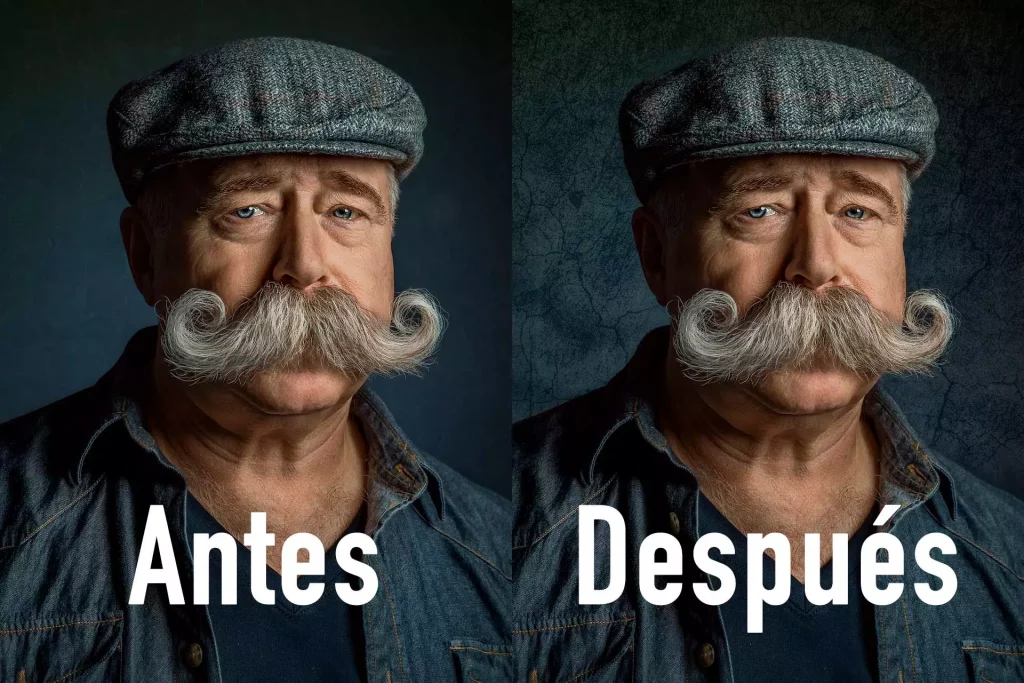
Add a texture
To add a texture in Photoshop you don’t need much. You can find many programs on the internet that do it, but what better way than to do it yourself. The only thing you will need apart from the original photo is the photo that you will use as a texture.
The photos that work best, in this case, are photos with a flat background (or almost).

On the internet, you can find an infinity of these textures. Usually, the ones that work best are the so-called grunge. They are usually applied to backgrounds, but if you want more creative results you can apply them on any surface.
The steps to follow are very easy. You open the photo in Photoshop and copy the texture over it. Now it’s just a matter of playing with the blend mode. The one that usually works best is Soft Light, but prove as each photo is different.
To adjust the effect, remember that you can also play with the opacity of the layer. We are going to see step by step how to add a texture to the background of a portrait.
Open the photo and copy the chosen texture over it.
On the texture layer, choose the Soft Light Blend Mode.
Add a mask to the texture. We will eliminate the effect of the parts of the person. Since we do not want it to apply to the entire image.
With a brush, paint in black the parts of the photo where you don’t want to apply the texture. Lower the opacity until you like the effect and voila.
Sharpen a photo
We have also talked about the High Pass filter. What I haven’t told you yet is that in addition to emphasizing wrinkles or parts of a photo, I usually use it to give the photos more focus. The process is much easier this time.
Other tutorials teach you to focus with Photoshop’s Sharpen tool. I do not recommend it… The result you get with it can be a complete disaster. With this method, you will get what you are looking for 100% of the time.
You just need to duplicate the photo layer, go to Filter-Other-High Pass and give it a radius of 3px. To this layer we assign the blending mode of Overlay in this case. And we would already have the best focused photo. It couldn’t be easier!
Advanced techniques
I have taught you easy tricks to edit photos in Photoshop, but if you want to retouch like a professional you will need more time. Editing a photo doesn’t take 5 minutes. Another thing that I have not said… always part of a good photo. Trying to fix a bug in Photoshop is not the solution to make good photos.
Here I explain the first steps of making a Dodge & Burn in Photoshop. But I recommend you see a YouTube tutorial about it if you want to delve into it. Other techniques like frequency separation also work very well for portraits.
These two techniques are not quick to learn and master, but they go very well. We leave it for another post. Be careful browsing the internet, just as you can find good tutorials there are also very bad ones. In recent years, many people who had never touched Photoshop or a camera, consider themselves photographers for learning a thing or two.
If portraits are your thing, I can also recommend a couple of plugins like Portraiture or Beauty Retouch. And if you like landscape photography, you should check out Luminar, Nik Collection, and the TK Panel.
Conclusions
- Work with a good photo, if the photo is bad you will not make it good in editing. You will have to spend many hours to fix all the defects of a bad photo. Try to learn from your mistakes and repeat them if possible or choose a better one.
- Editing is an art. Doing a good touch-up takes time and practice. Remember not to over-edit a photo, make it look natural. If you don’t have practice, try to find references on which to base your first editions.
- Learn from professionals. I have told you a lot in this post, but I will repeat it for you. You have to train your eye by seeing lots of photos from professionals, learning from them, and practicing with their advice. Only in this way will you edit photos in Photoshop with your own style.