Taking photos with the smartphone has become something very common. Whereas just a few years ago it was common to have a compact digital camera with you, most people now have a cell phone.
You always have this with you anyway. And the quality of cellular phone photos has finally improved so much that there are hardly any differences to a cheap digital camera. Often the images are even of higher quality.
Nowadays, you can even photograph Northern Lights with a smartphone! Check our tips about it in our post.
Nevertheless, there are of course a few ways to get amazing snapshots with your mobile phone. The following ten tips and tricks will help you become a professional when it comes to mobile phone photography.
The best tips to take mobile photos with a smartphone
Always set the best possible image quality
It may sound banal, but it’s especially important when taking photos with your smartphone. In order to have optimal editing options afterward, the highest resolution and the best possible image quality should always be set.
Mostly this is already preset on the device, but it makes sense to check this again. Especially if the pictures are to be post-processed later with special software or if an enlargement as a poster is sought, it would be a real shame if they look pixelated and are therefore useless.
Therefore: always use the maximum image quality when taking photos with your smartphone. After all, the photos can still be reduced in size if, for example, you want to save space on the hard drive when archiving.

Use the burst function
This tip should also make sense – in practice, however, not everyone will think of it. In order to have the largest possible selection of shots, from which the best can be picked out afterward, the series image function should be used.
This is available on most devices and is a good argument for taking photos with a smartphone. Depending on the model, you can take a lot of snapshots in quick succession by pressing the shutter release button for a long time. In this way, the best photo can be selected later in peace. The other images are simply deleted again.
How the pictures never blur again
Blurred images are one of the biggest annoyances for any photographer. No matter how nicely the motif can be selected, blurring will ruin the picture. Here are a few tips that should help prevent this from happening in the first place:
- Always hold the smartphone with both hands
- Ideally, place the device on solid ground
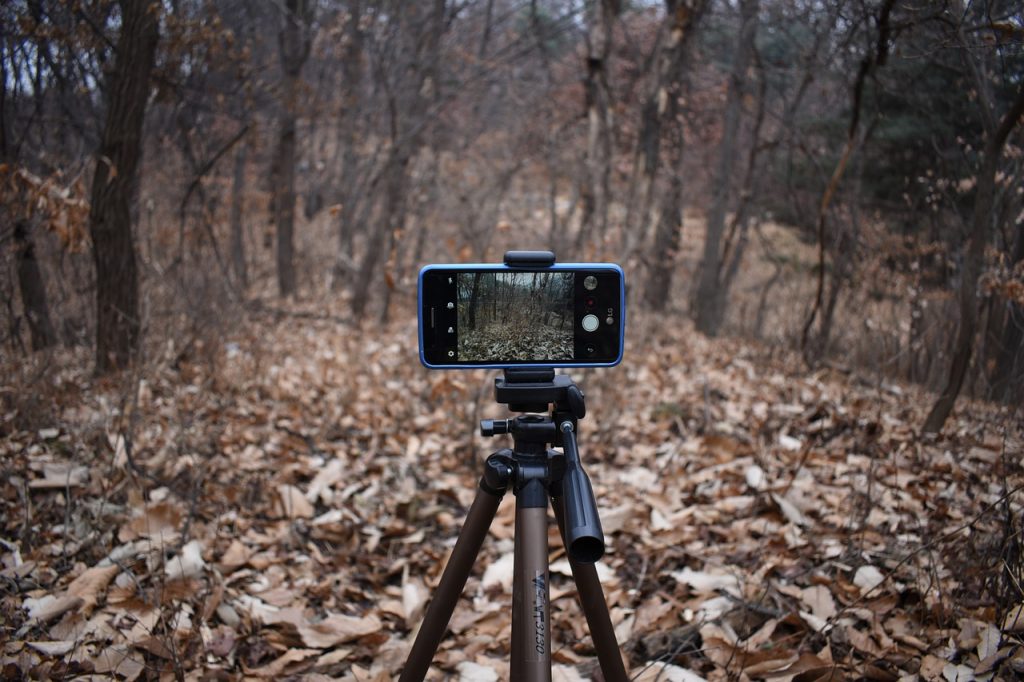
- Use a tripod
- Activate the shutter release with the remote control
The last tip in particular can be worth gold. Because even a tripod is of little use if the smartphone is moved by a wrong move when the trigger is triggered.
Even an ordinary wired headset with buttons to regulate the volume can help here. Simply connect it, press the plus button and a blur-free photo is taken. Alternatively, a Bluetooth remote control can be used, as is supplied with many selfie sticks.

Avoid zooming if possible
If you spot an interesting subject at a distance, you will quickly be tempted to bring it closer by using digital zoom. However, this method is not recommended. Because unfortunately there is not much that can be done with the images created in this way.
By zooming the recordings become pixelated and completely useless even with a slight enlargement. This is also where one of the biggest weaknesses when taking photos with a smartphone becomes apparent. The quality of photos taken with zoom decreases rapidly. So: stay away from it and, if possible, try to get closer to the subject.
Creates photos with depth
The nice thing about taking photos with the smartphone is that the built-in cameras usually have a fairly large angle of view. This makes them predestined to create impressive wide-angle effects.
But how can the photos be given a special depth? The photographer should literally get down on his knees for this. Flowers or stones, for example, are ideal as a motif in the foreground, while behind them a wonderful panorama is shown. It is important to get as close as possible to the object in question.

Take panoramic shots
The big downer when taking photos compared to filming is that only certain sections of a landscape or scenario can be captured and captured on a picture. When taking photos with the smartphone, however, the photographer has the option of capturing perfect panoramas without moving images. This is done with the help of the built-in panorama function. To do this, proceed as follows:
- Start the camera app
- Select the “Panorama” mode
- Press the shutter button
- Pan the camera slowly in the desired direction
- Press the shutter button again to stop recording
Operation can of course be slightly different depending on the smartphone. It is especially important that the device is kept as straight as possible during the recording. When panning slowly, you should always stay at the same height. As a rule, the results are really impressive!

Better backlit portraits thanks to the flash
Backlit shots are also one of the greatest challenges when taking photos with a smartphone. If, for example, people are to be photographed in front of a landscape background under such conditions, they will only be seen as a dark silhouette.
In order to put both the person in the foreground and the background in the best possible light, it is advisable to switch on the flash of the mobile phone camera. This completely illuminates the scenery and balances out the contrasts.

When the flashlight is absolutely taboo
Taking photos with your smartphone in the dark is a very special challenge. Many believe that simply turning on the flash is enough. But this is not infrequently a fatal error.
When it comes to taking landscape photos, the flash should definitely be switched off. Because it can only be used to illuminate objects in the immediate vicinity.
If, on the other hand, the photo subjects are further away, the flash only illuminates various particles in the air – and the photo can no longer be used. Even when it is raining or snowing, lightning is an absolute no-go.
Image editing on the smartphone
In order to edit the photos you have taken yourself, you do not have to drag them onto a computer first. The recordings can also be edited professionally directly on the smartphone.
Even with the pre-installed programs, this usually works surprisingly well. If you want to get a little more out of your pictures, the following apps are recommended:
- Adobe Lightroom – free for iPhone and Android
- PhotoDirector – free for iPhone and Android
- Pic Collage – free for iPhone and Android
While Adobe Lightroom is primarily about improving the quality of the photos through a wide variety of processing methods, PhotoDirector focuses on the fun factor.
For example, funny speech bubbles can be built into the pictures. Pic Collage, on the other hand, is the best app if you want to create appealing photo collages without great effort and without prior technical knowledge. These can then be shared directly on the common social media portals with just a few clicks.
Better selfies with the rear camera
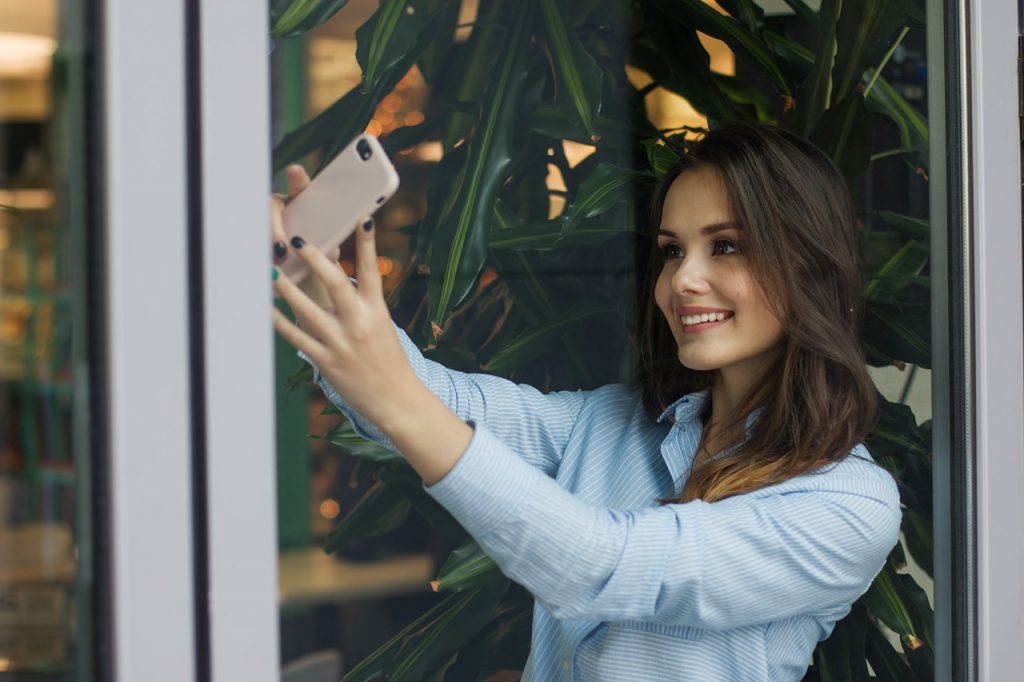
When it comes to taking photos with the smartphone, one thing should of course not be missing: the popular selfies. These are practically always shot with the front camera, the so-called “selfie cam” – as propagated by the manufacturers. And it’s so nice and comfortable too.

The problem is that the quality of the front cameras is always significantly worse than that of the rear cameras. So, to get razor-sharp selfies, it is advisable to rethink.
With a smartphone tripod in combination with a Bluetooth remote control, the rear camera can also be converted into a selfie camera in no time at all. And the results are really impressive.


